Create 21 Family Dinners in Just 30 Minutes

How I Used A Simple Hack to Create 21 Family Dinners in Just 30 Minutes (My Exact Strategy Revealed)
Last week, I found myself staring at an amazing sale on chicken thighs at my local grocery store. The practical side of me couldn’t resist stocking up, but then reality hit – what was I going to do with all this chicken? Between work deadlines, my kids’ after-school activities, and trying to maintain some kind of social life, the thought of planning meals in bulk 30 seemed overwhelming.
That’s when I turned to my favorite kitchen shortcut: the 2-ingredient dinner hack. Within just 20 minutes, I had prepped enough meals to last us over a month! I’m talking minimal effort, maximum results, and absolutely zero dinnertime stress.
I’ve always believed that simplicity in the kitchen is the key to easy family dinners. This 2-ingredient dinner hack perfectly embodies that philosophy.
The 2-ingredient dinner hack is:
Life gets busy, and complicated family dinners with long ingredient lists often end up being nothing more than a good idea. This hack strips dinner down to the bare essentials while still delivering on flavor.
Why You’ll Love This 2-Ingredient Dinner Hack
Here’s exactly how I turned a great sale on chicken into a freezer full of ready-to-cook family dinners in less time than it takes to watch your favorite tv show:

Step 1: Grab a Sauce (or Two or Three…)
The beauty of this system is that your sauce selection is what creates variety without complexity. I opened my pantry and refrigerator and gathered:
The amount of sauce you’ll need depends on how many family dinners you want to make. Generally, you’ll need about 1 cup of sauce for every 2 lbs of meat. I’ll break down the exact ratios later.

Step 2: Choose Your Protein
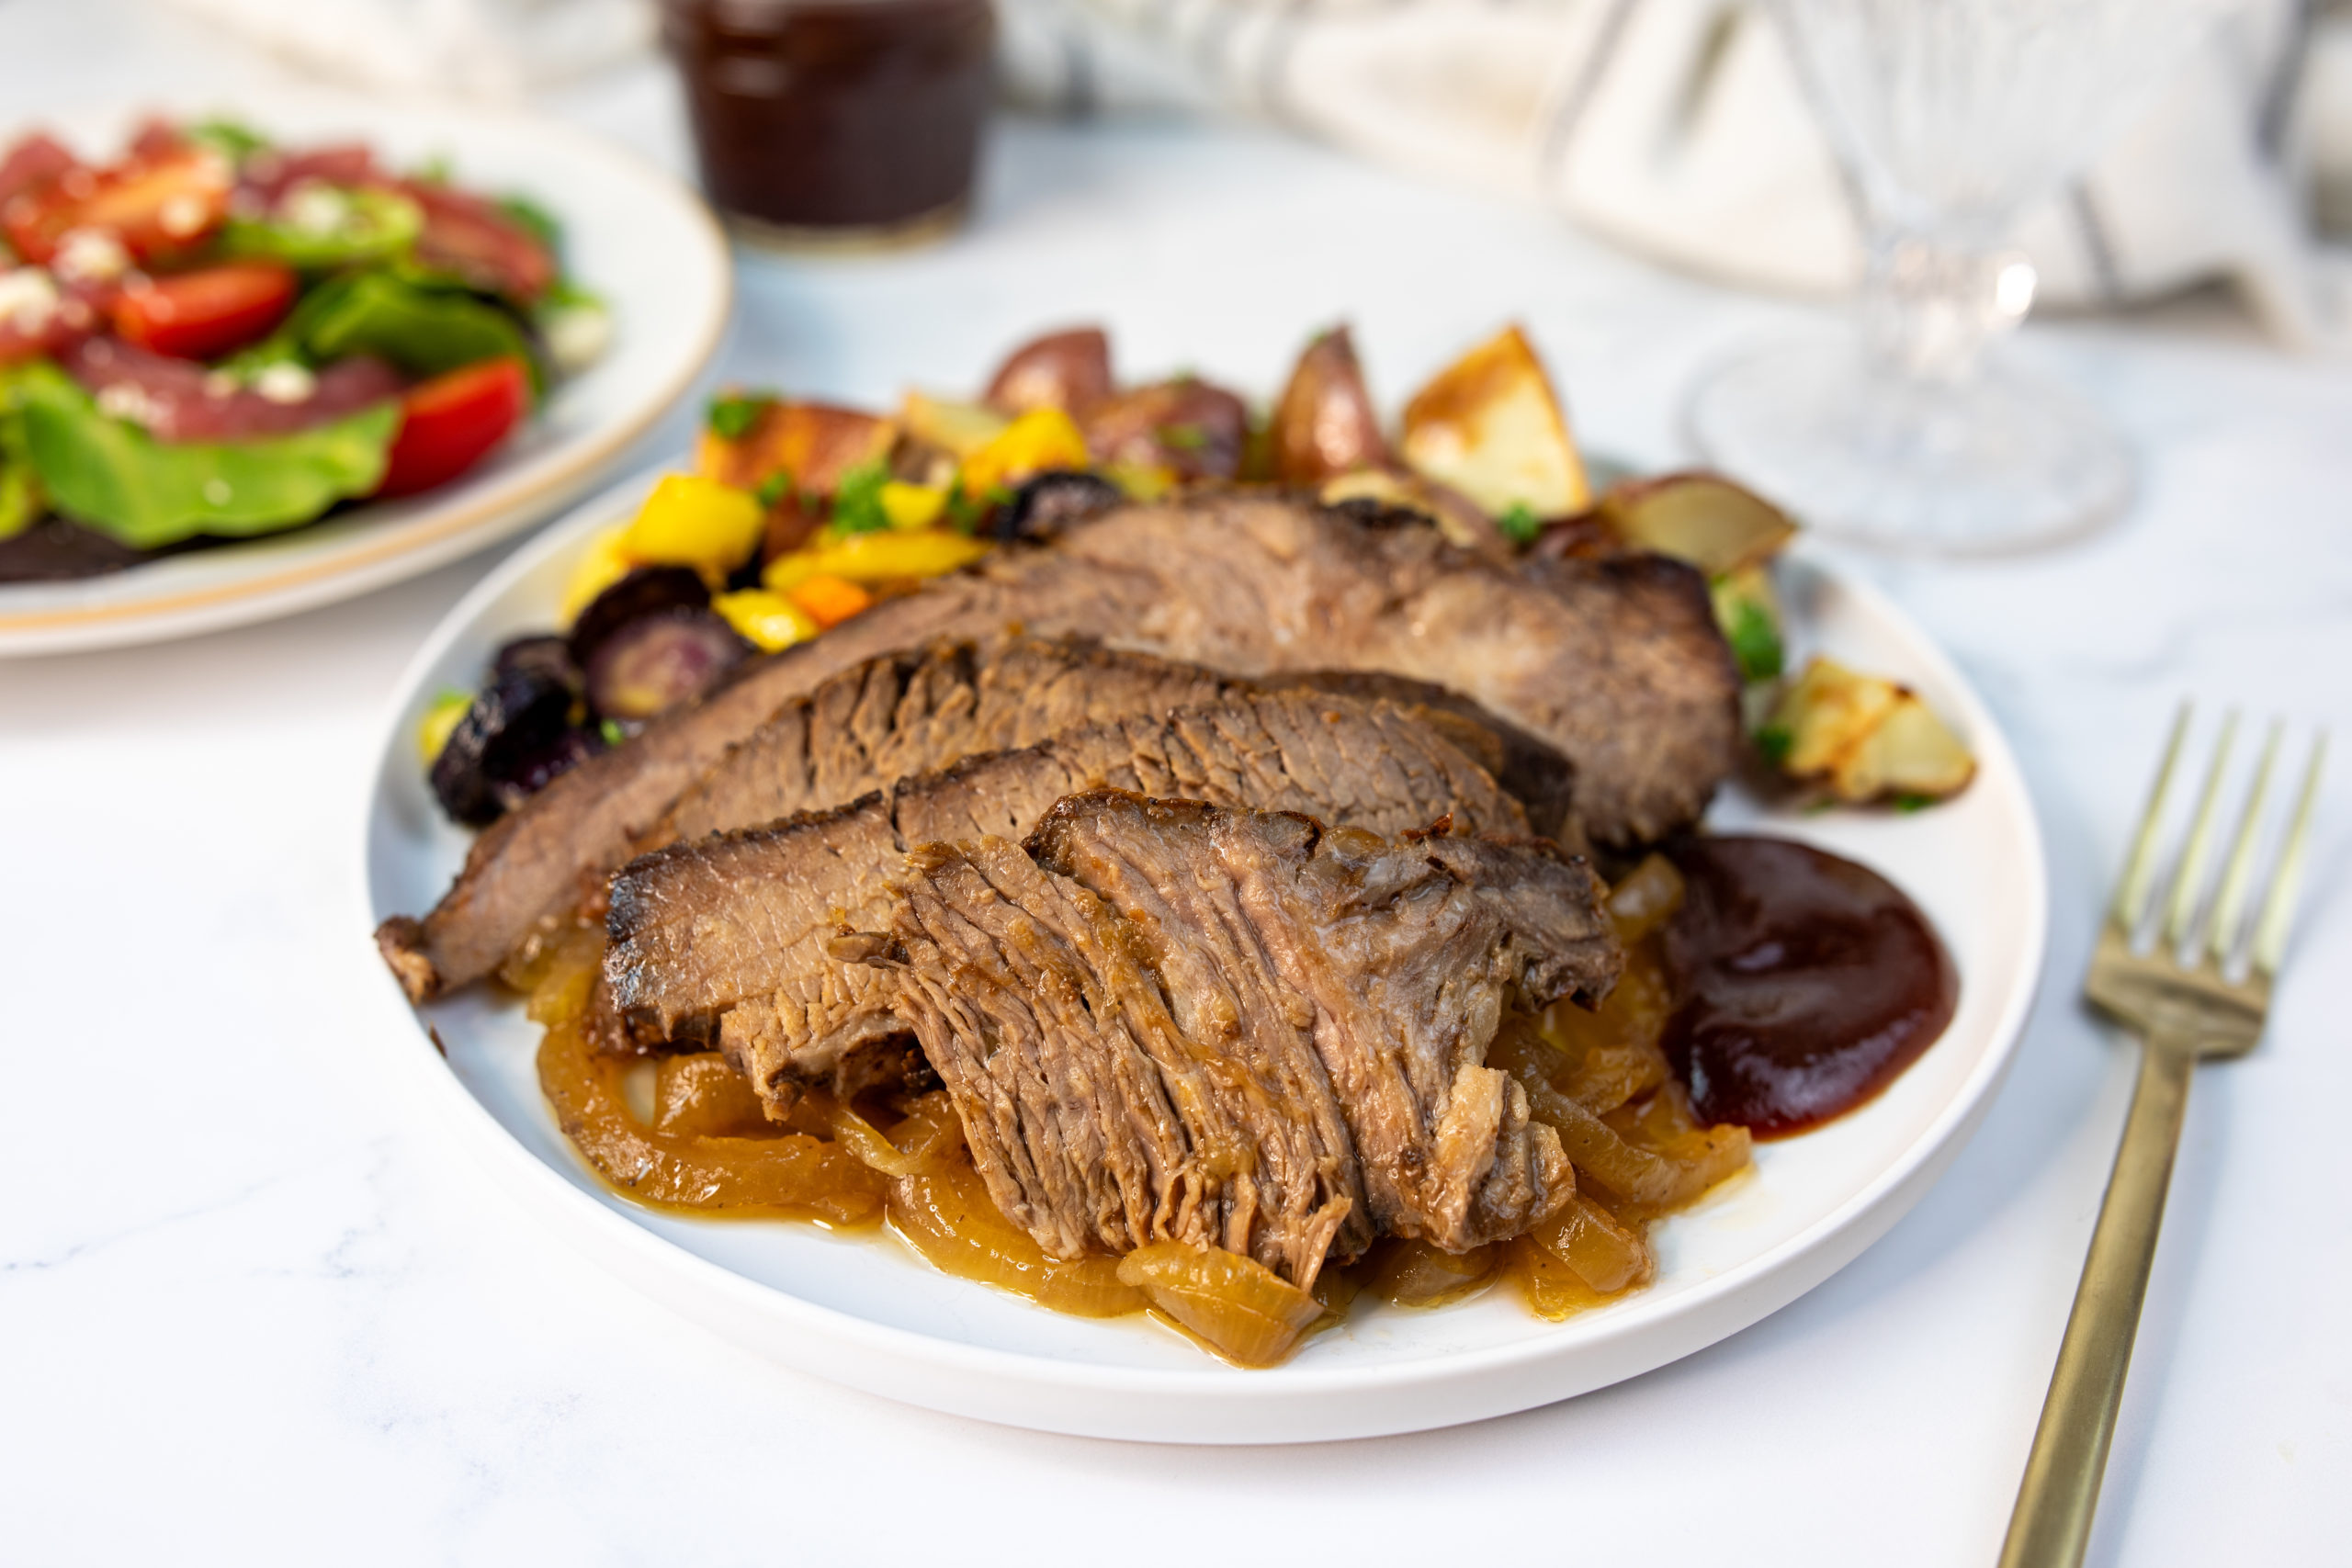
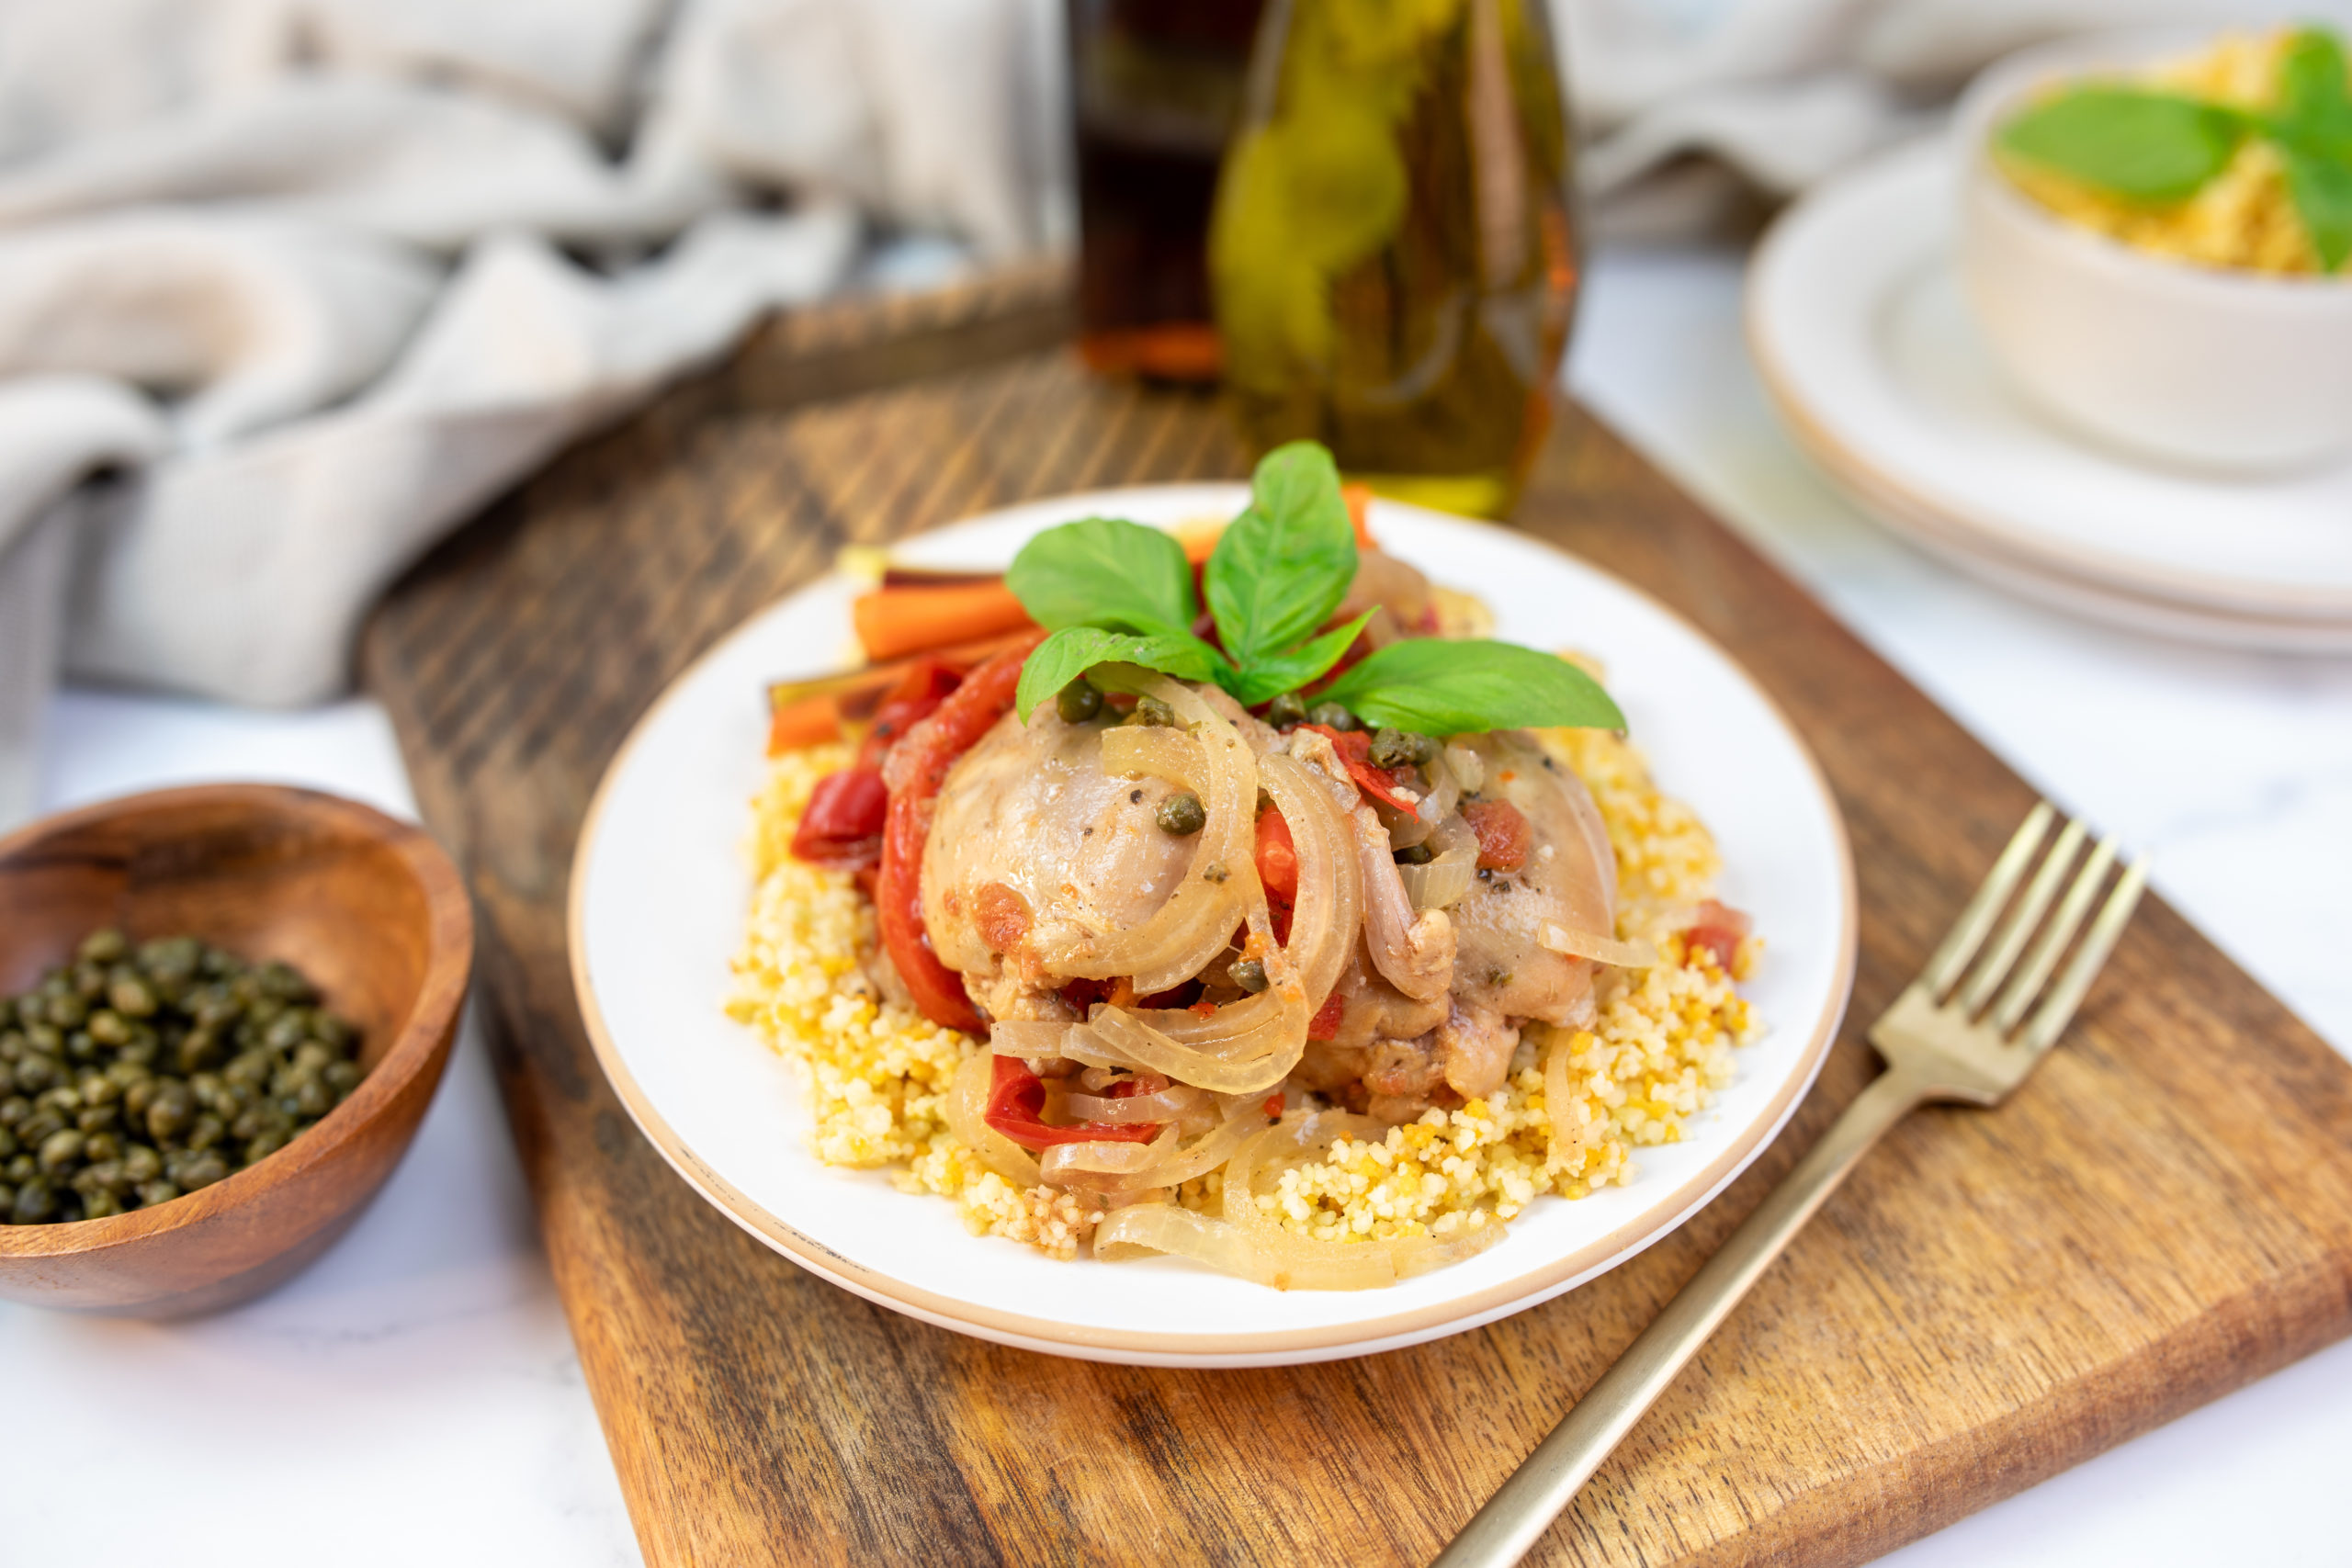
While my go-to is boneless skinless chicken thighs (they stay juicy and tender in almost any cooking method), this hack works beautifully with any protein:
I grabbed my chicken thigh packages and was ready for step 3.
Step 3: Label Your Freezer Bags
This might seem like a minor step, but it’s crucial! Always label your freezer bags BEFORE filling them with your sauce/marinade and protein.
I grabbed a permanent marker and labeled each bag with:
Pro tip: I also like to note which family members particularly enjoy each variety, so I know who’ll be extra happy on “Thai Curry Chicken” night.

Step 4: Fill Each Freezer Bag According to This Ratio
Here’s where the magic happens. Depending on whether you’re using a thicker sauce or a more liquid marinade, you’ll want to adjust your ratios:
For sauces: Add 1/2 cup sauce + 1/2 cup water for every 1 pound of protein
For marinades: Add 1 cup marinade for every 1 pound of protein
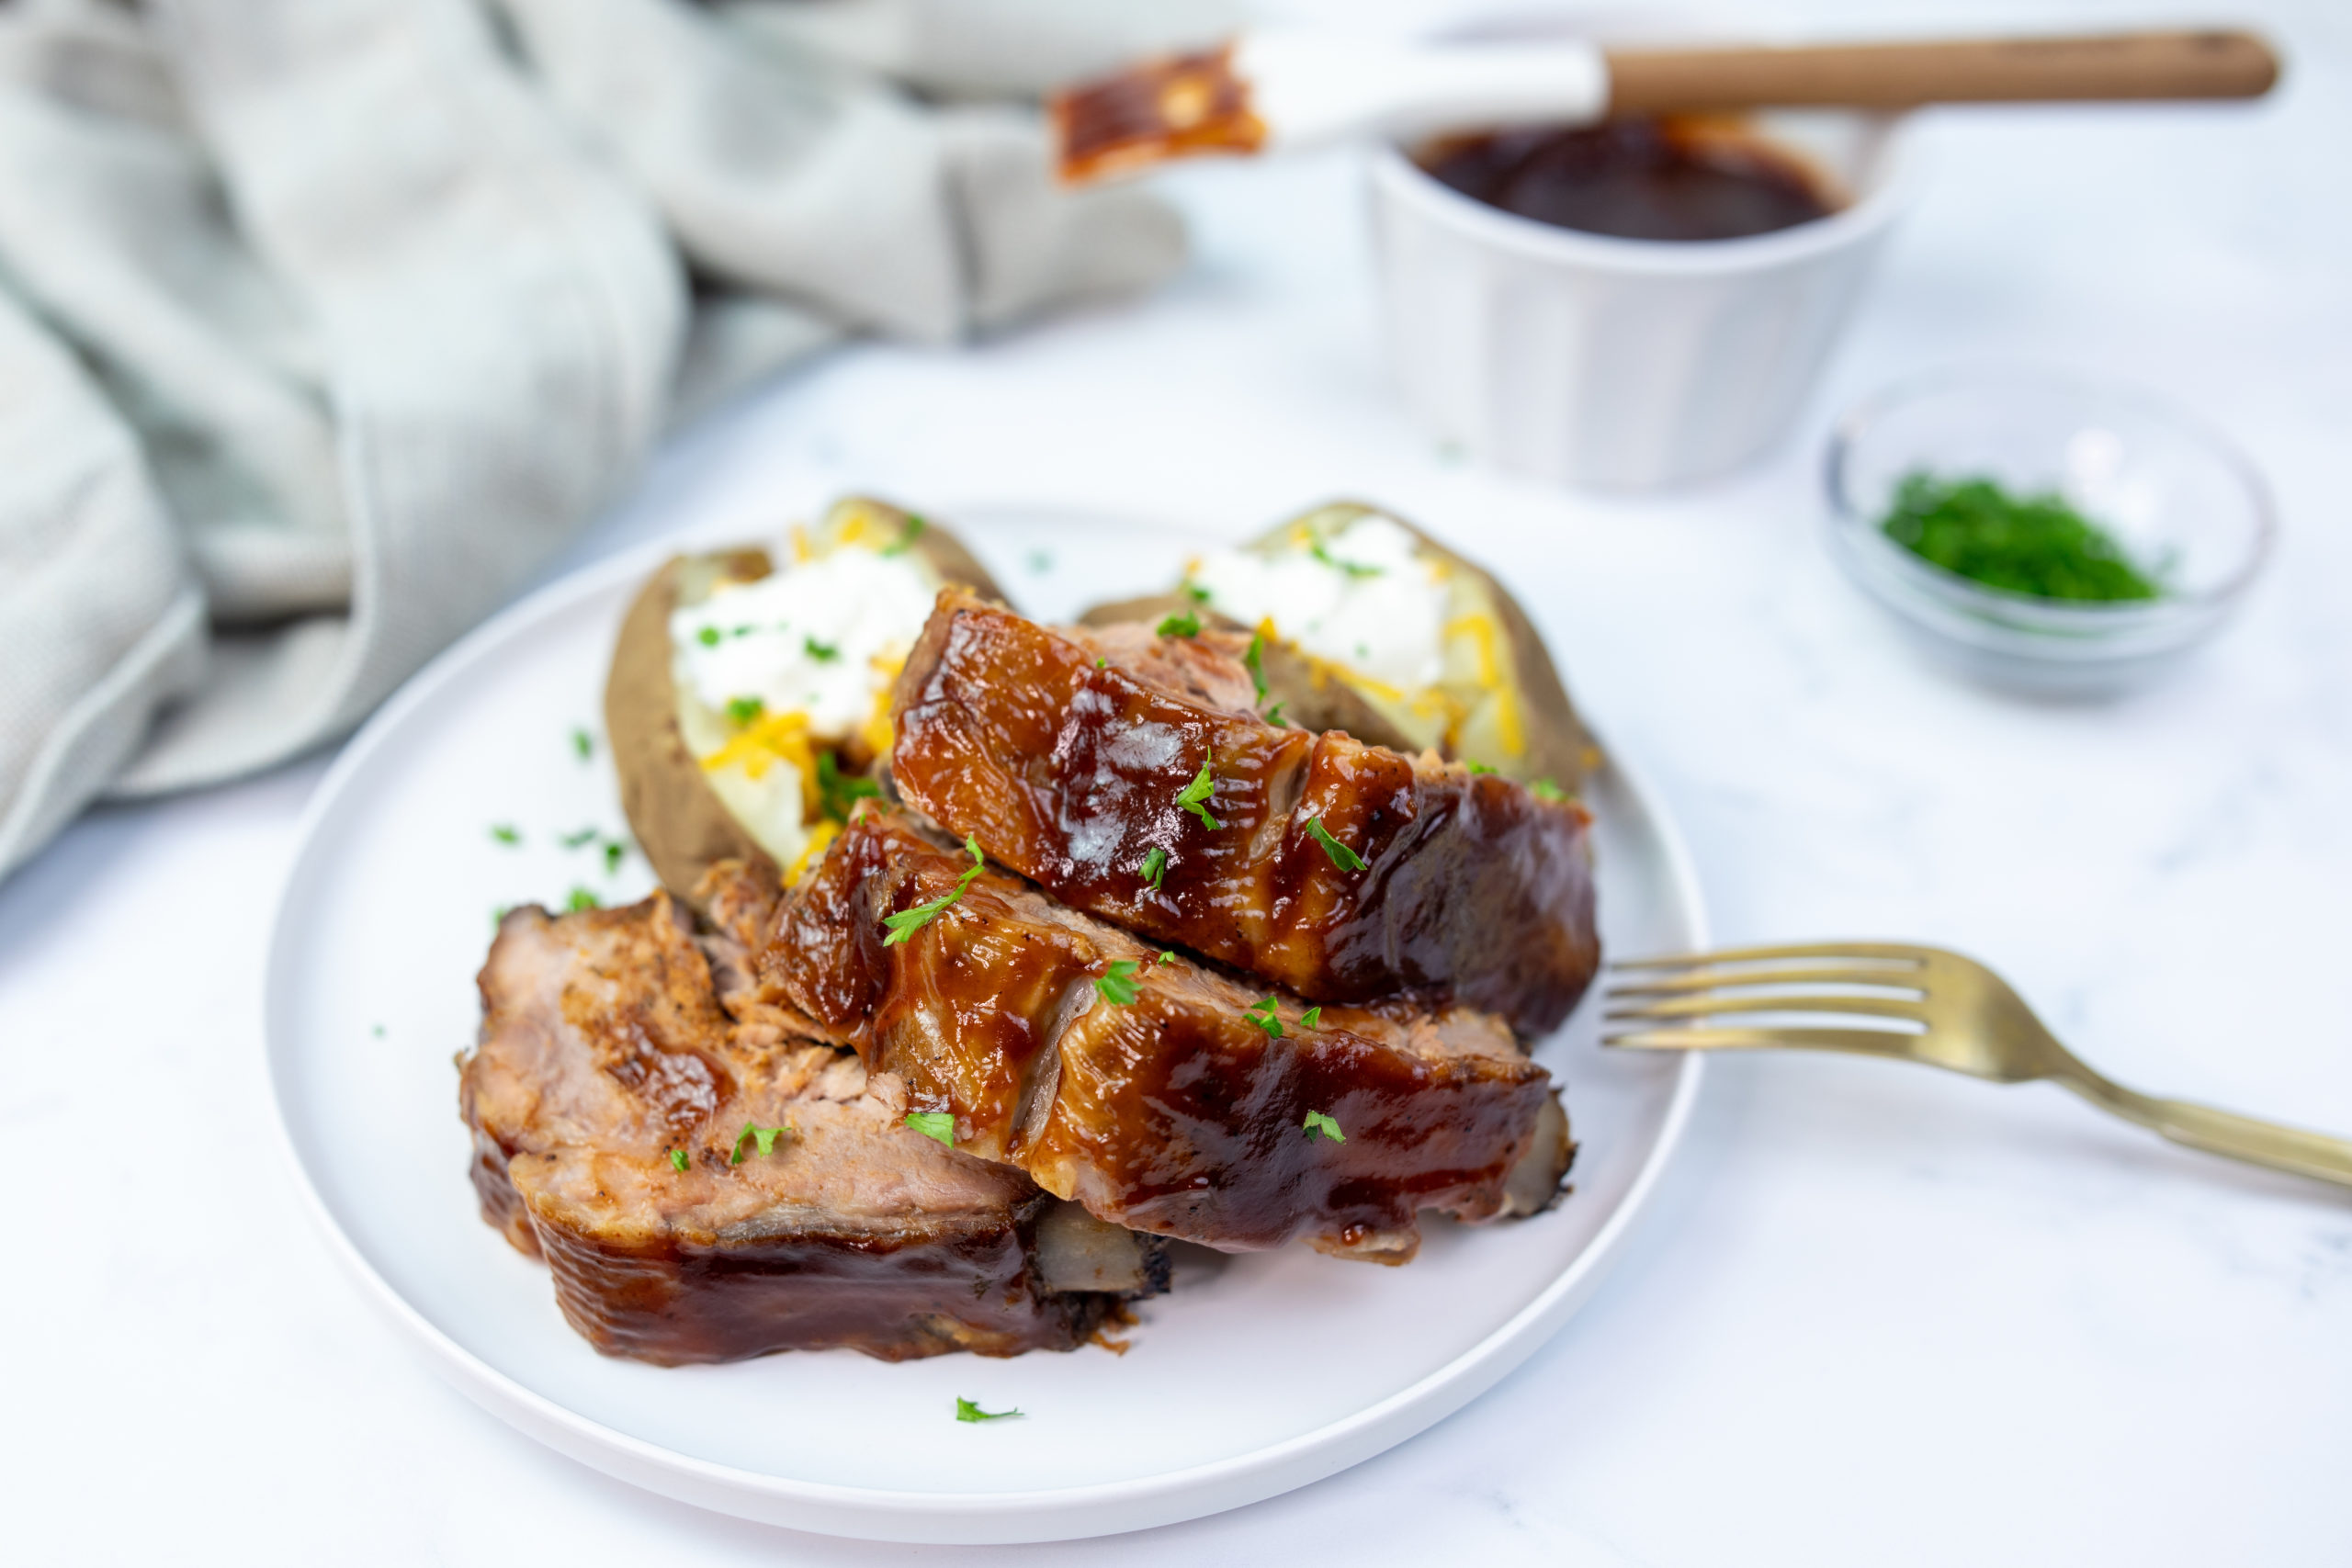
The biggest difference between a sauce and a marinade is the consistency. If your sauce is on the thicker side (like BBQ sauce), adding water transforms it into more of a marinade, which will distribute more evenly around your protein.
I portioned out my chicken thighs (about 2-3 pounds per meal, depending on my family’s appetite) and added around 1 ½ cups of sauce or marinade to each bag.
Step 5: Seal Bags and Freeze
Once filled, I removed as much air as possible from each bag before sealing it tight. This helps prevent freezer burn and ensures even coating of the marinade.
These meals will keep beautifully in the freezer for up to 6 months, though in my house, they rarely last that long!
When I found those chicken thighs on sale recently, I was able to prep 21 family dinners in 30 minutes. That’s less than 90 seconds per future dinner!

The versatility continues when it comes to cooking these meals. You’ve got several options:
While the basic hack uses just sauce and protein, sometimes I get a little fancy and add one or two more ingredients to create specific flavor profiles:
Top Tips For Success
If you happen to have leftovers after cooking (though in my house, that’s rare!), they can be:
Refrigerated: Store in an airtight container for 3-4 days.
Frozen: Cooked meals can be frozen again in airtight containers for up to 3 months.
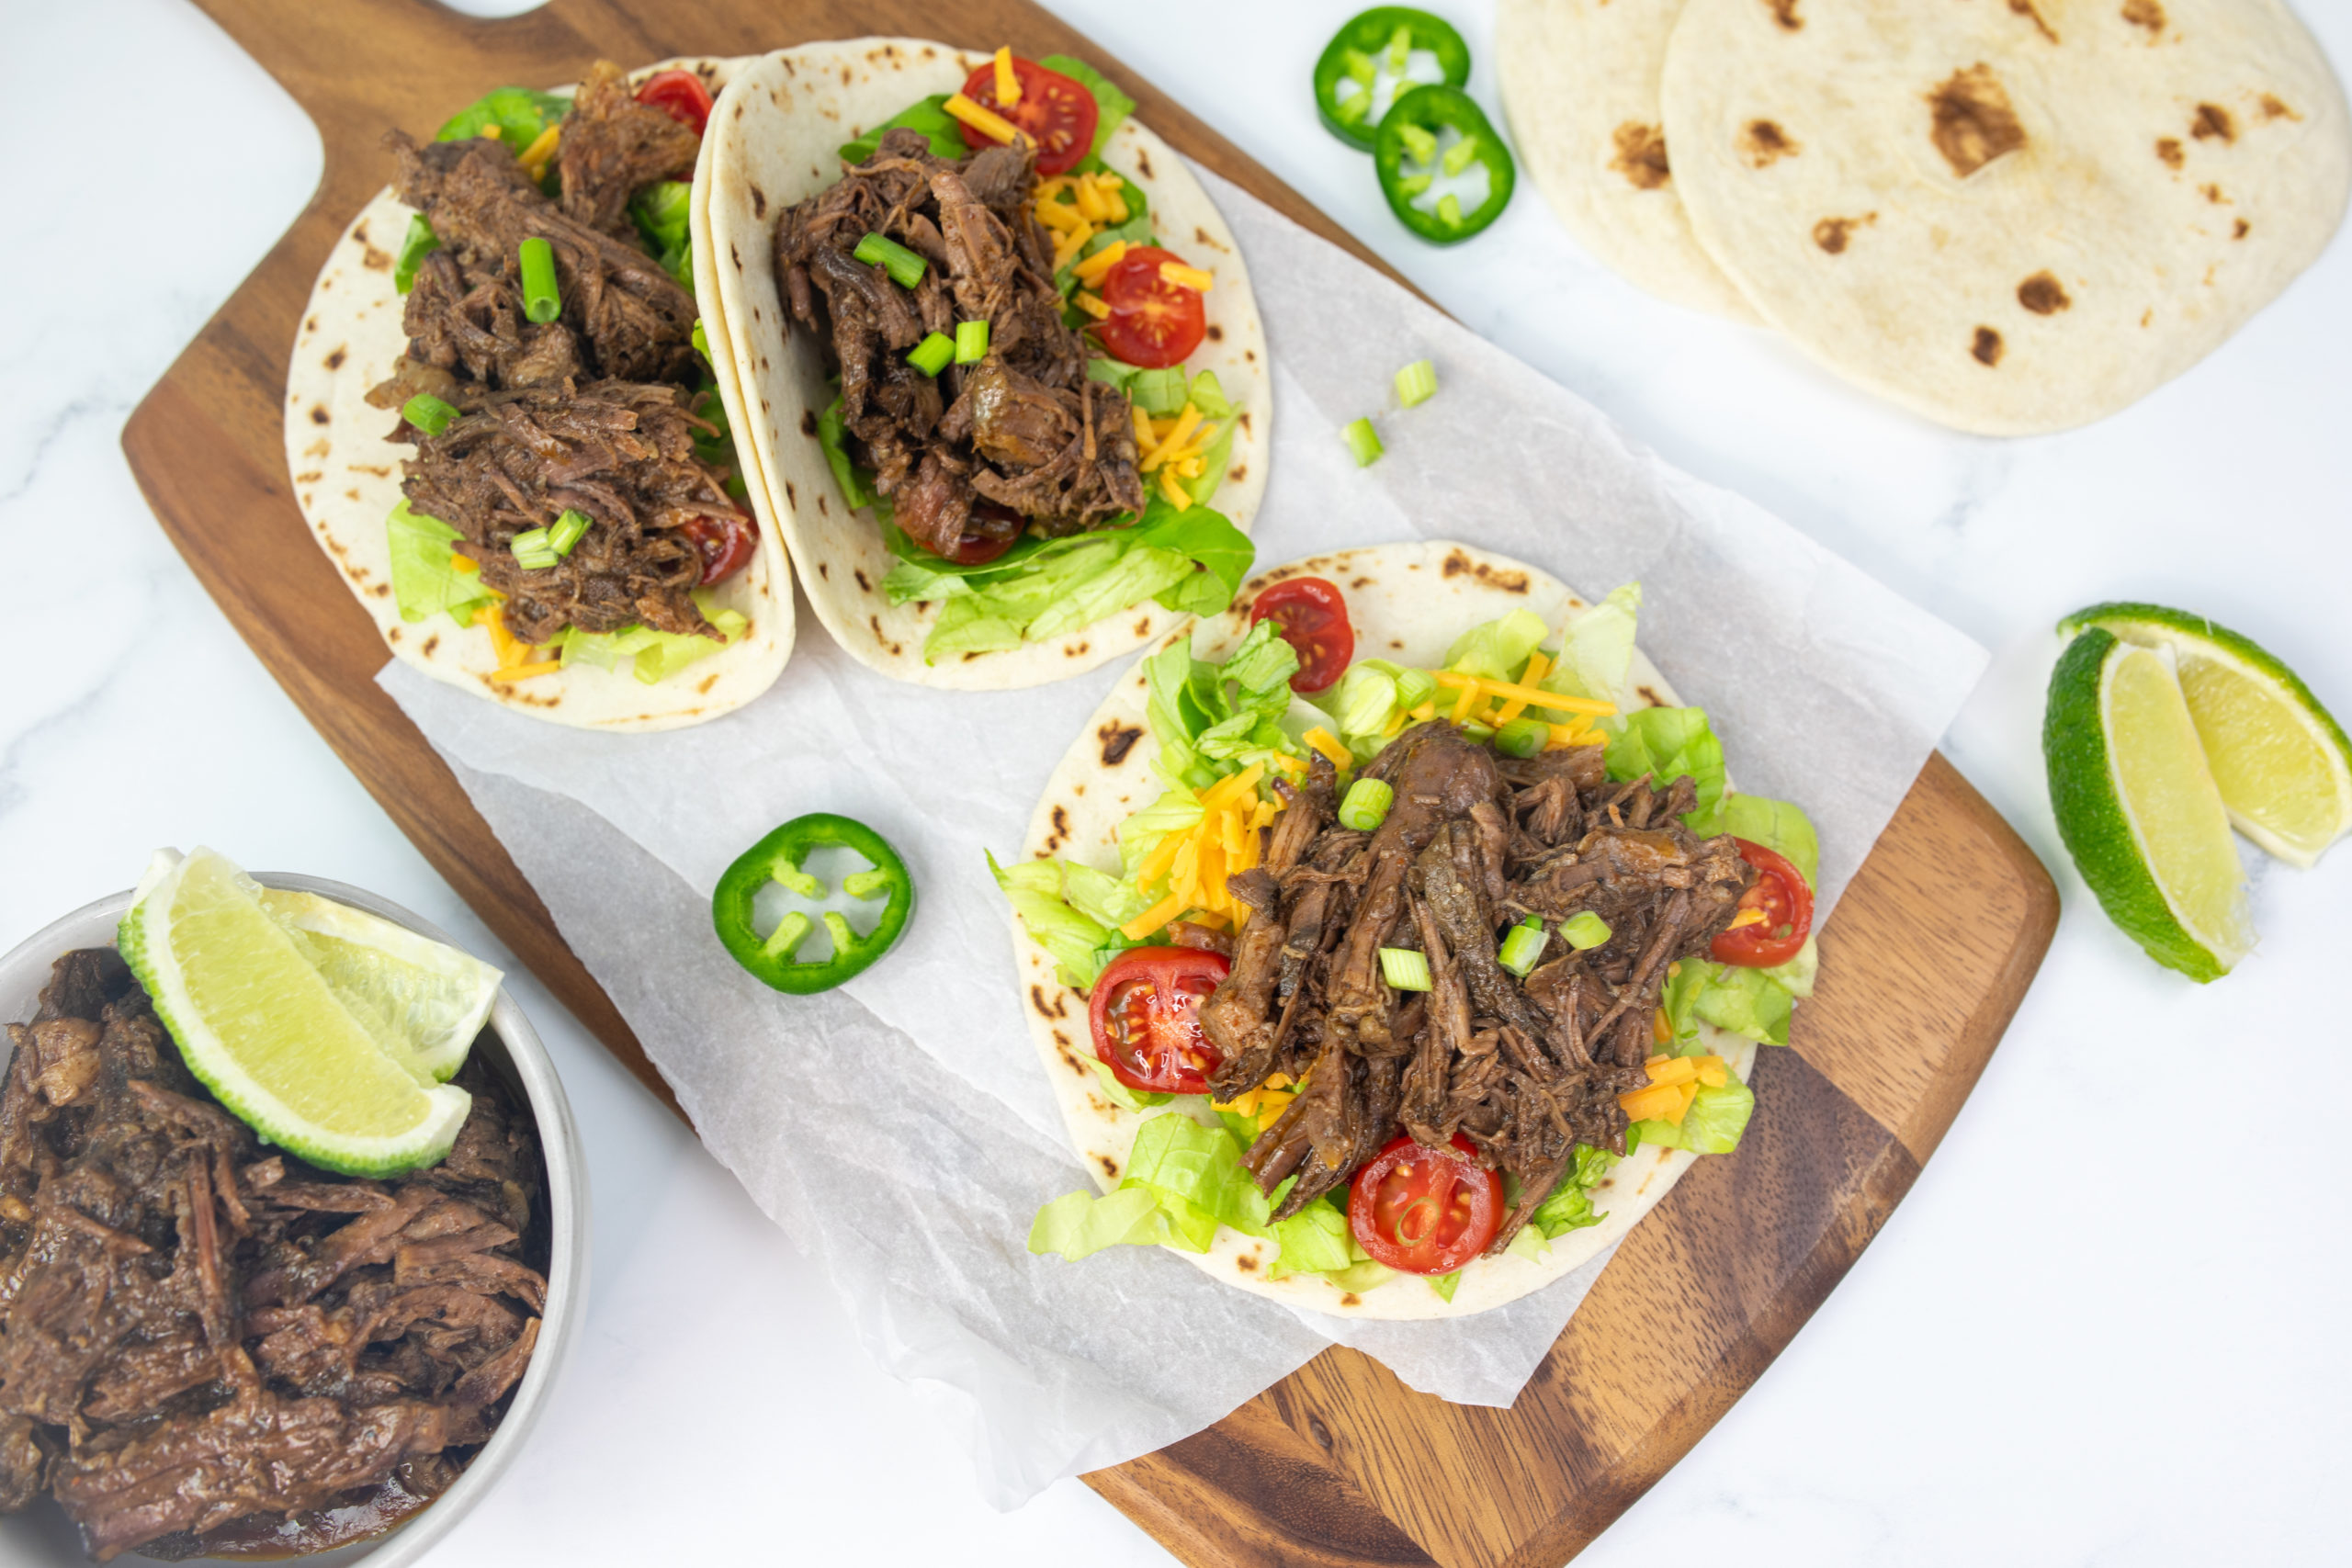
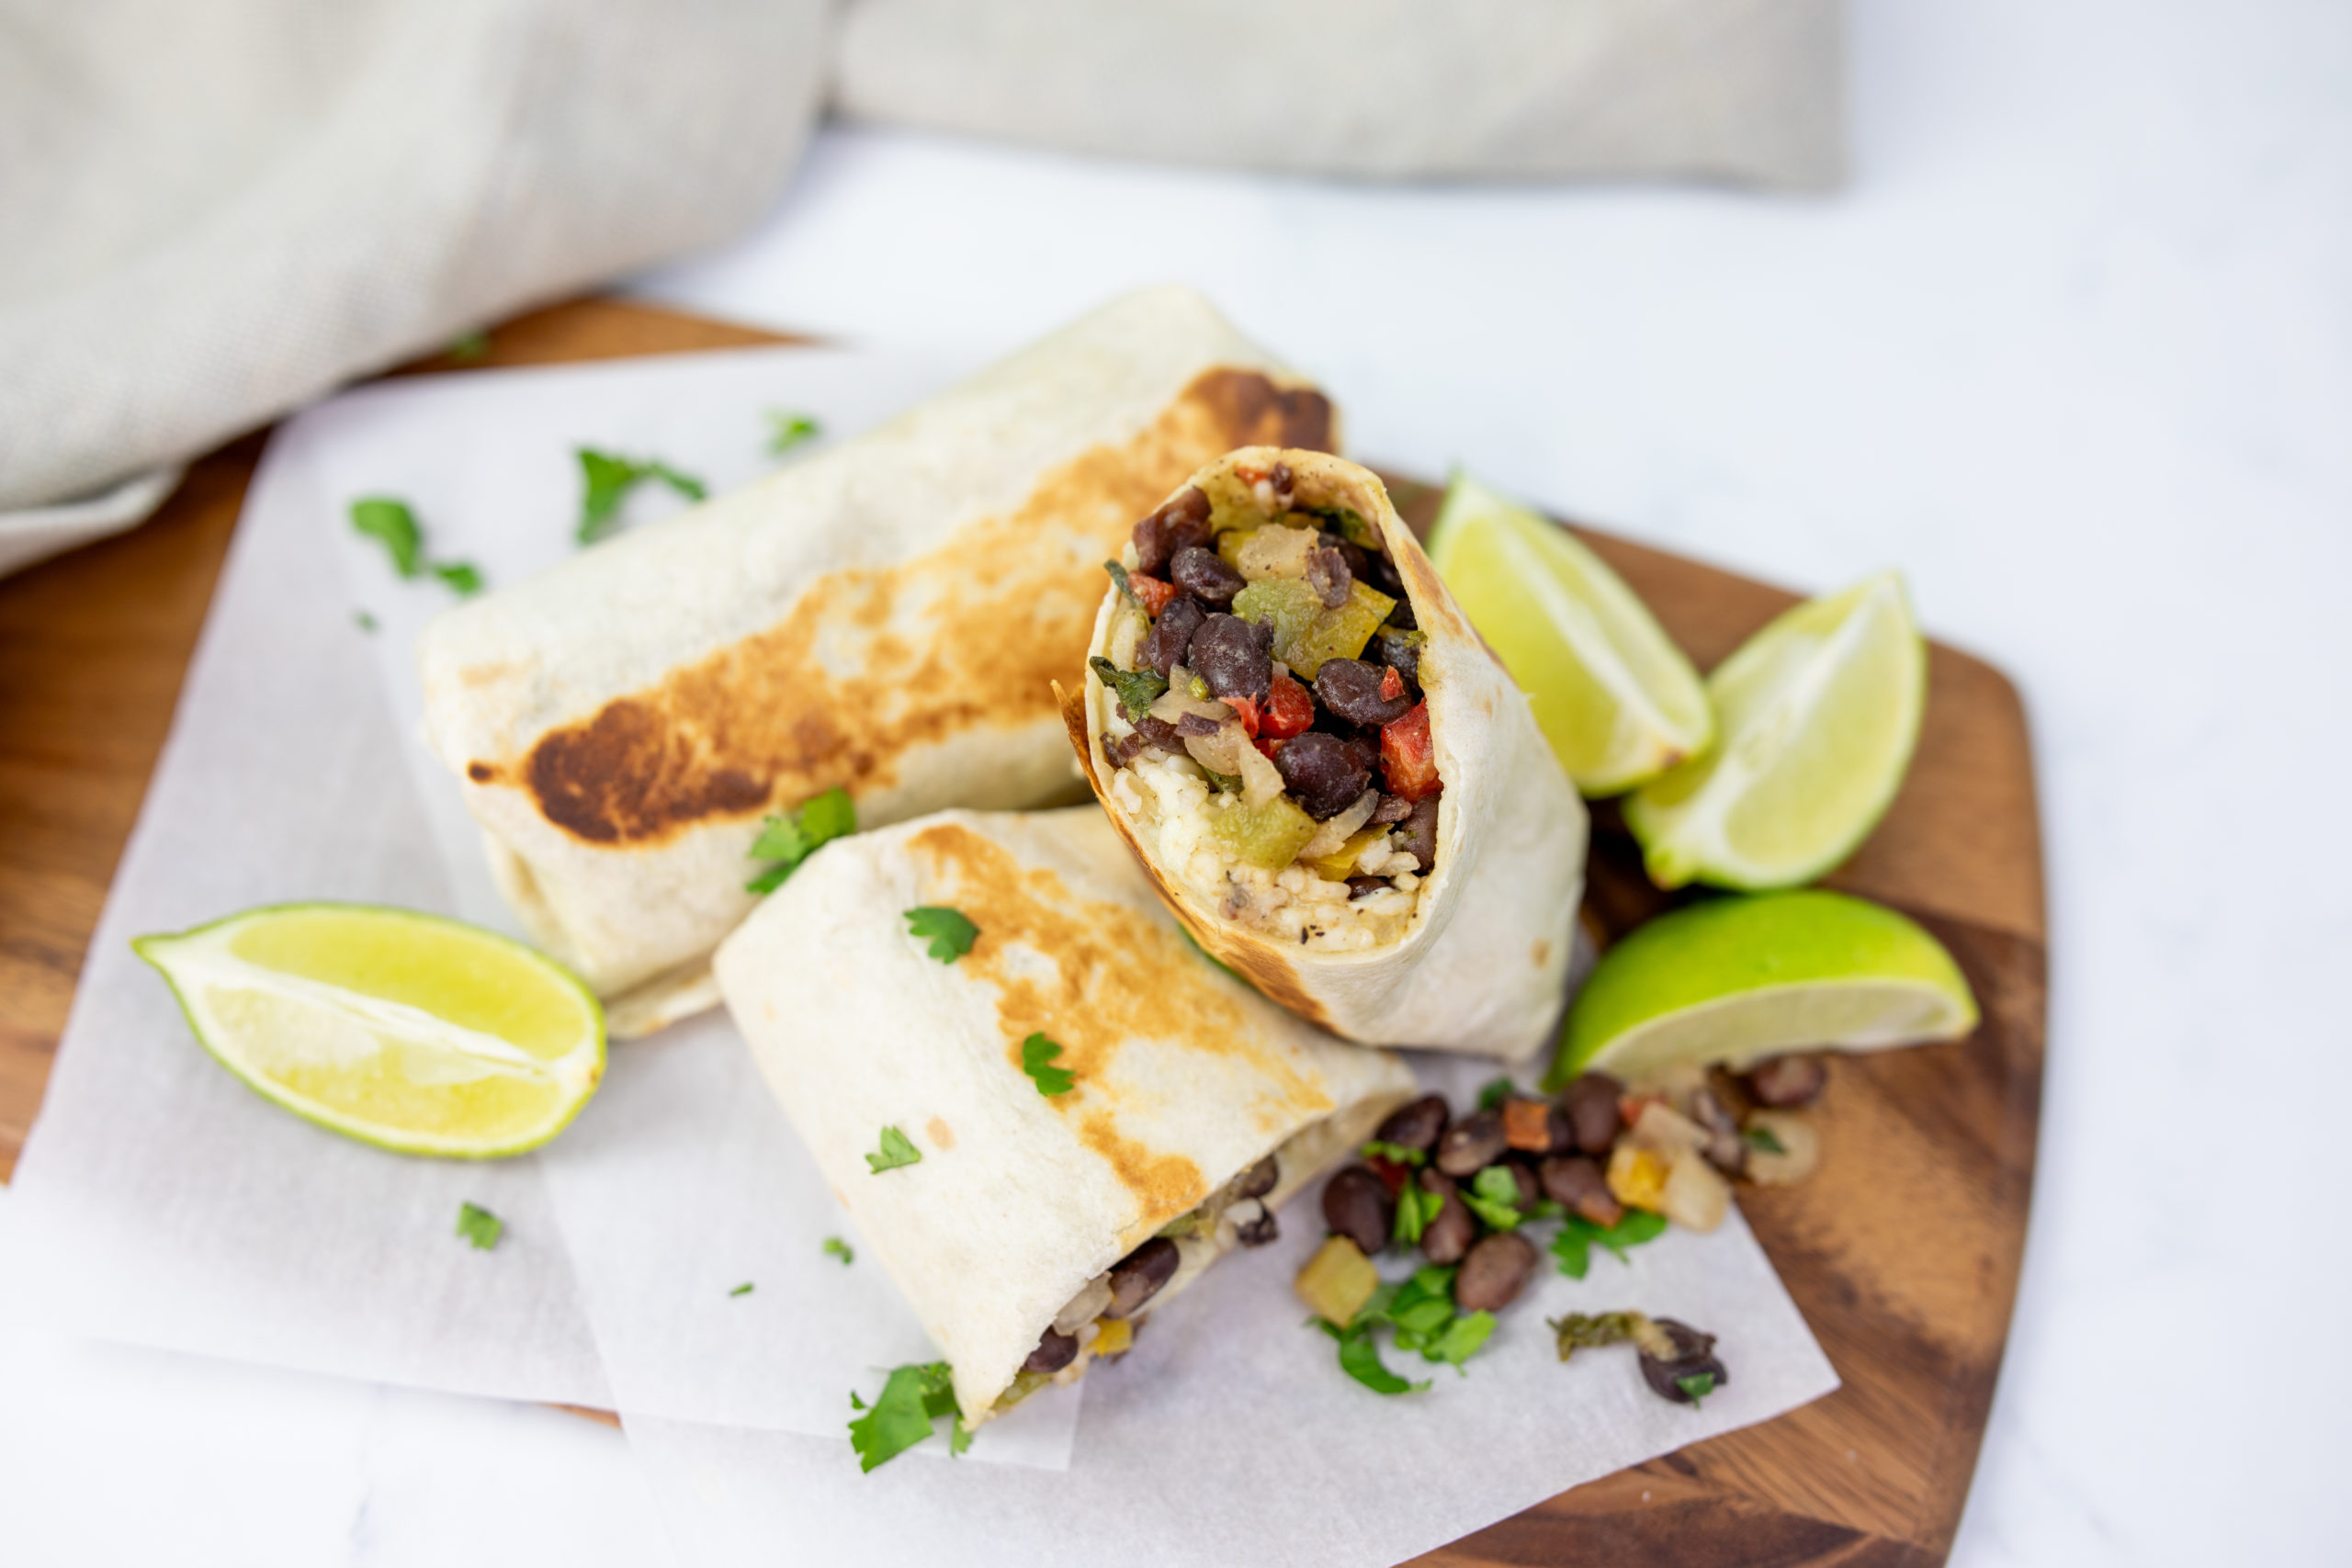
Repurposed: Leftover protein is perfect for quick lunches, added to salads, wrapped in tortillas, or stuffed in sandwiches.
Problem: Sauce became too watery after cooking. Solution: After cooking, remove chicken with a slotted spoon and stir in extra sauce from fridge (example BBQ sauce) to bring extra big flavor, or add a cornstarch slurry (1 tablespoon cornstarch mixed with 2 tablespoons cold water) to thicken.
Problem: Meat seems tough after cooking. Solution: This usually means it’s overcooked. Next time, try reducing the cooking time, or choose a cut with more fat/connective tissue like thighs instead of breasts for chicken.
Serving Suggestions
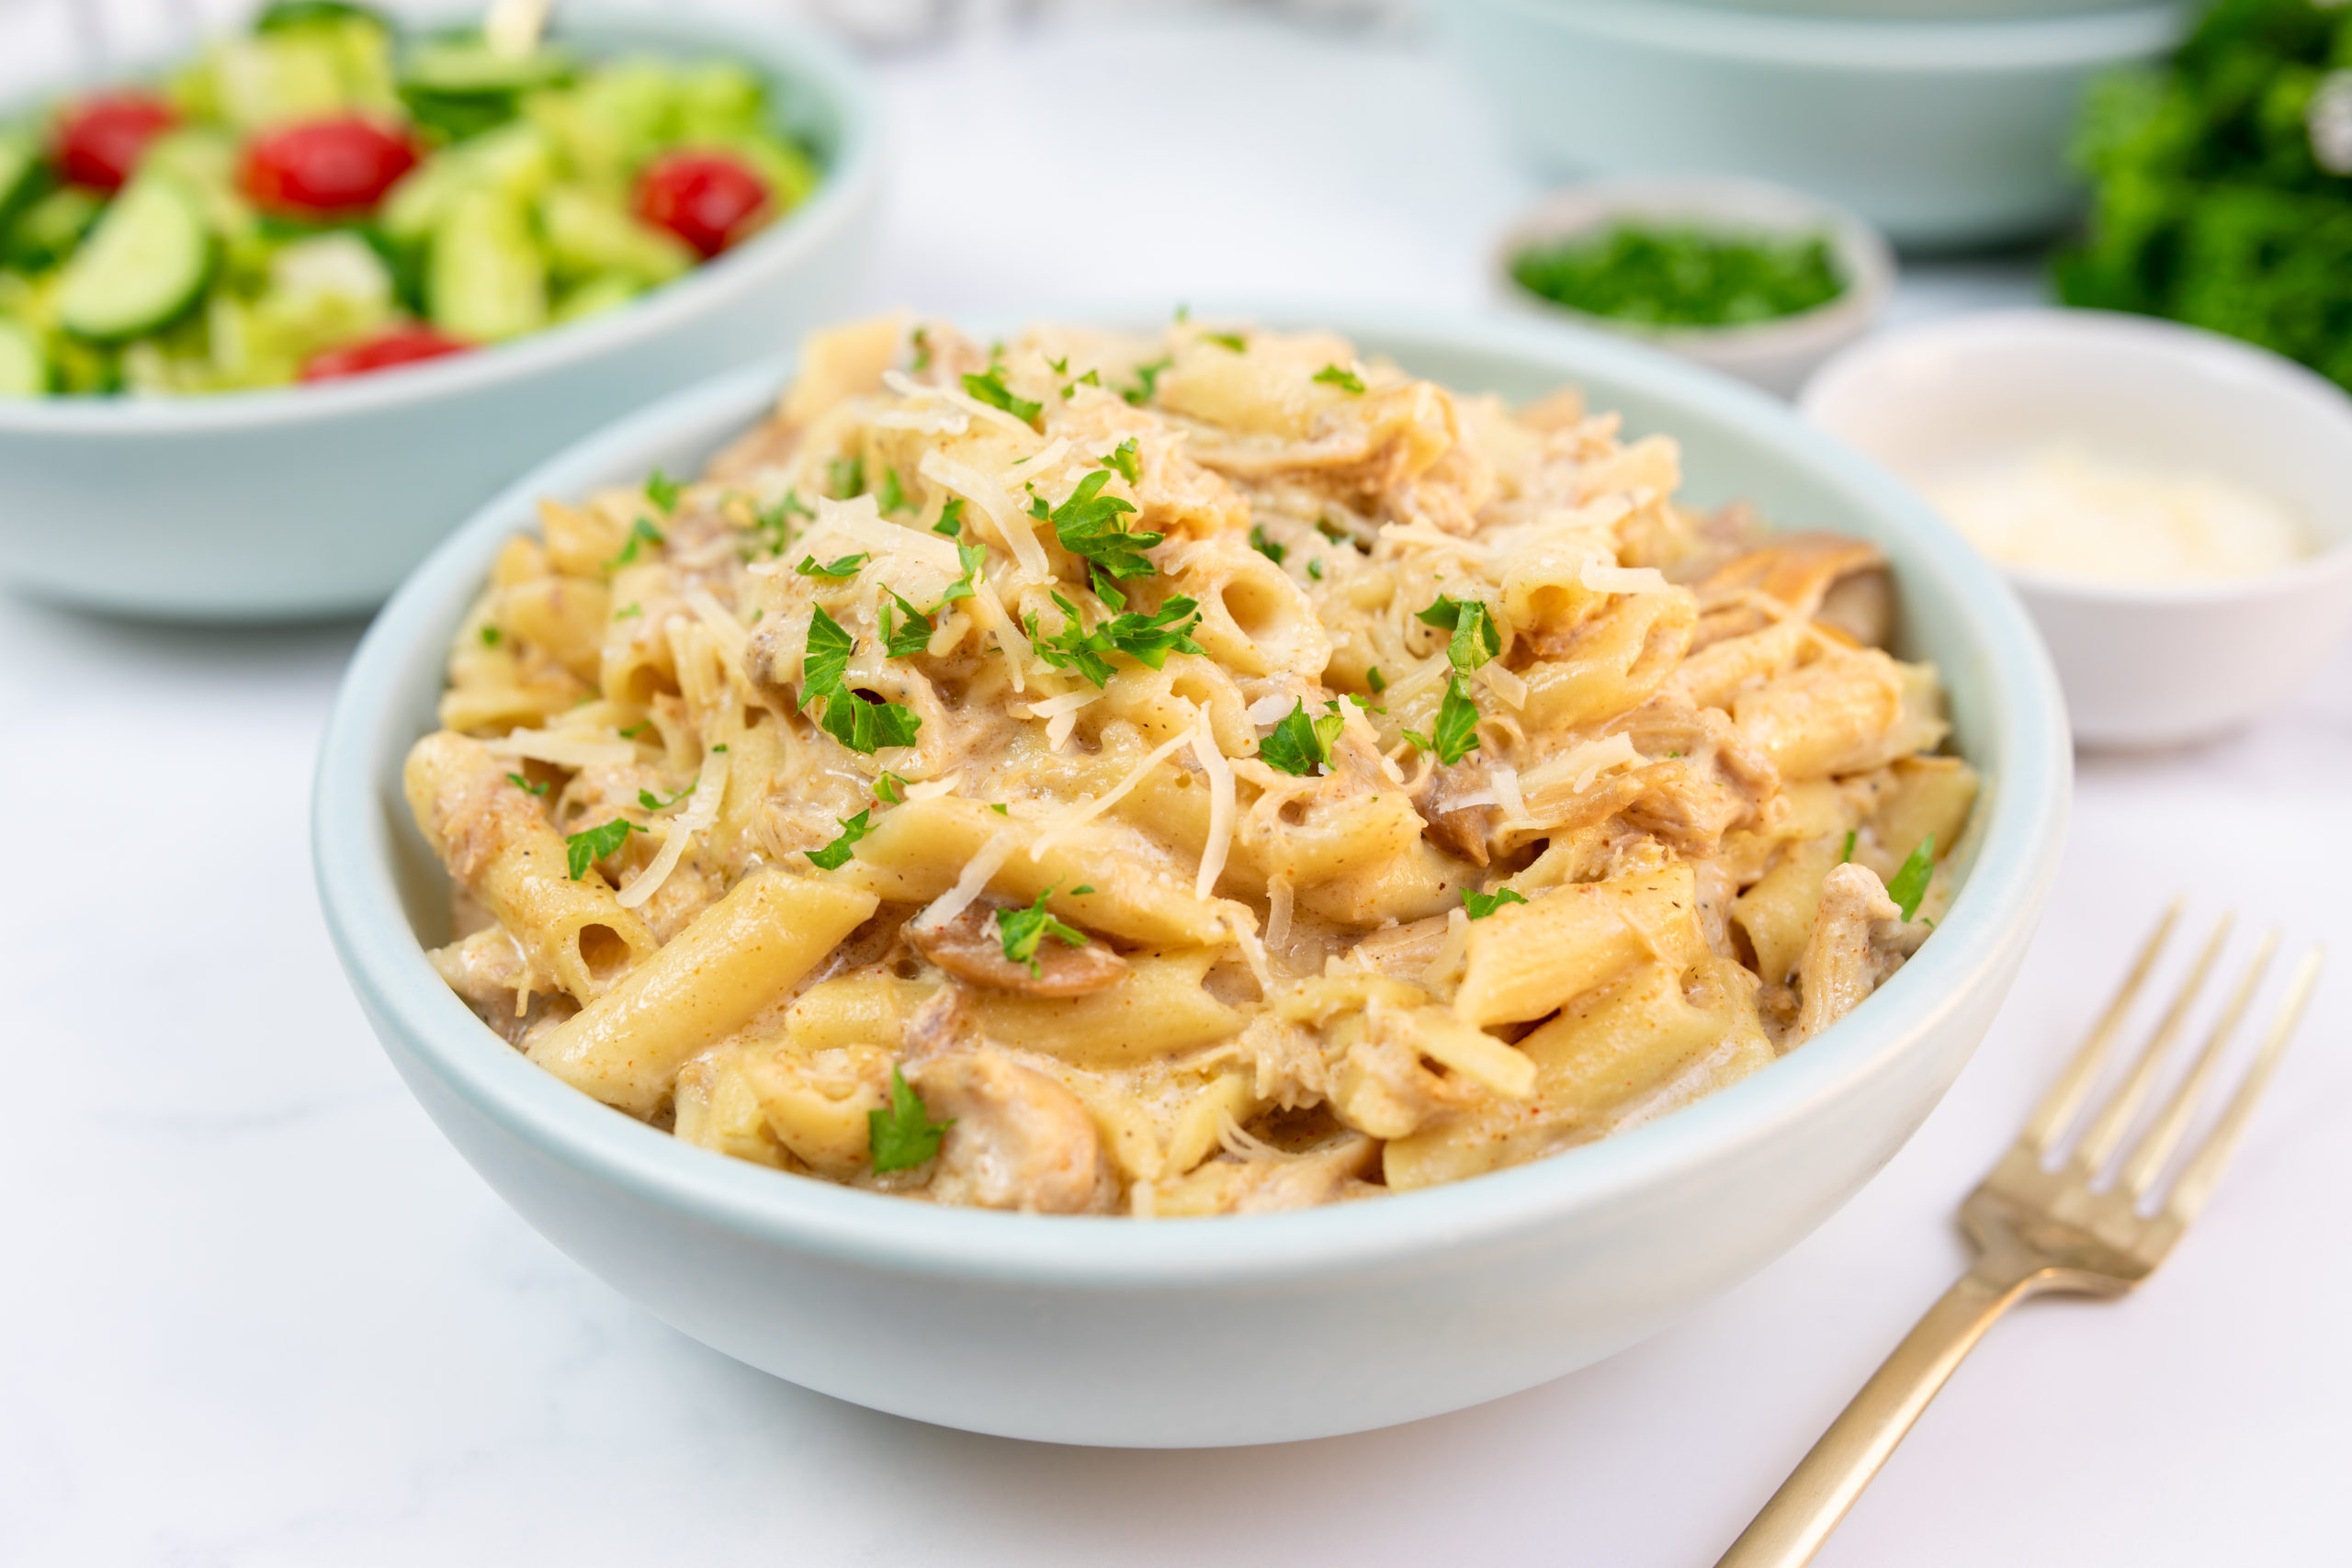
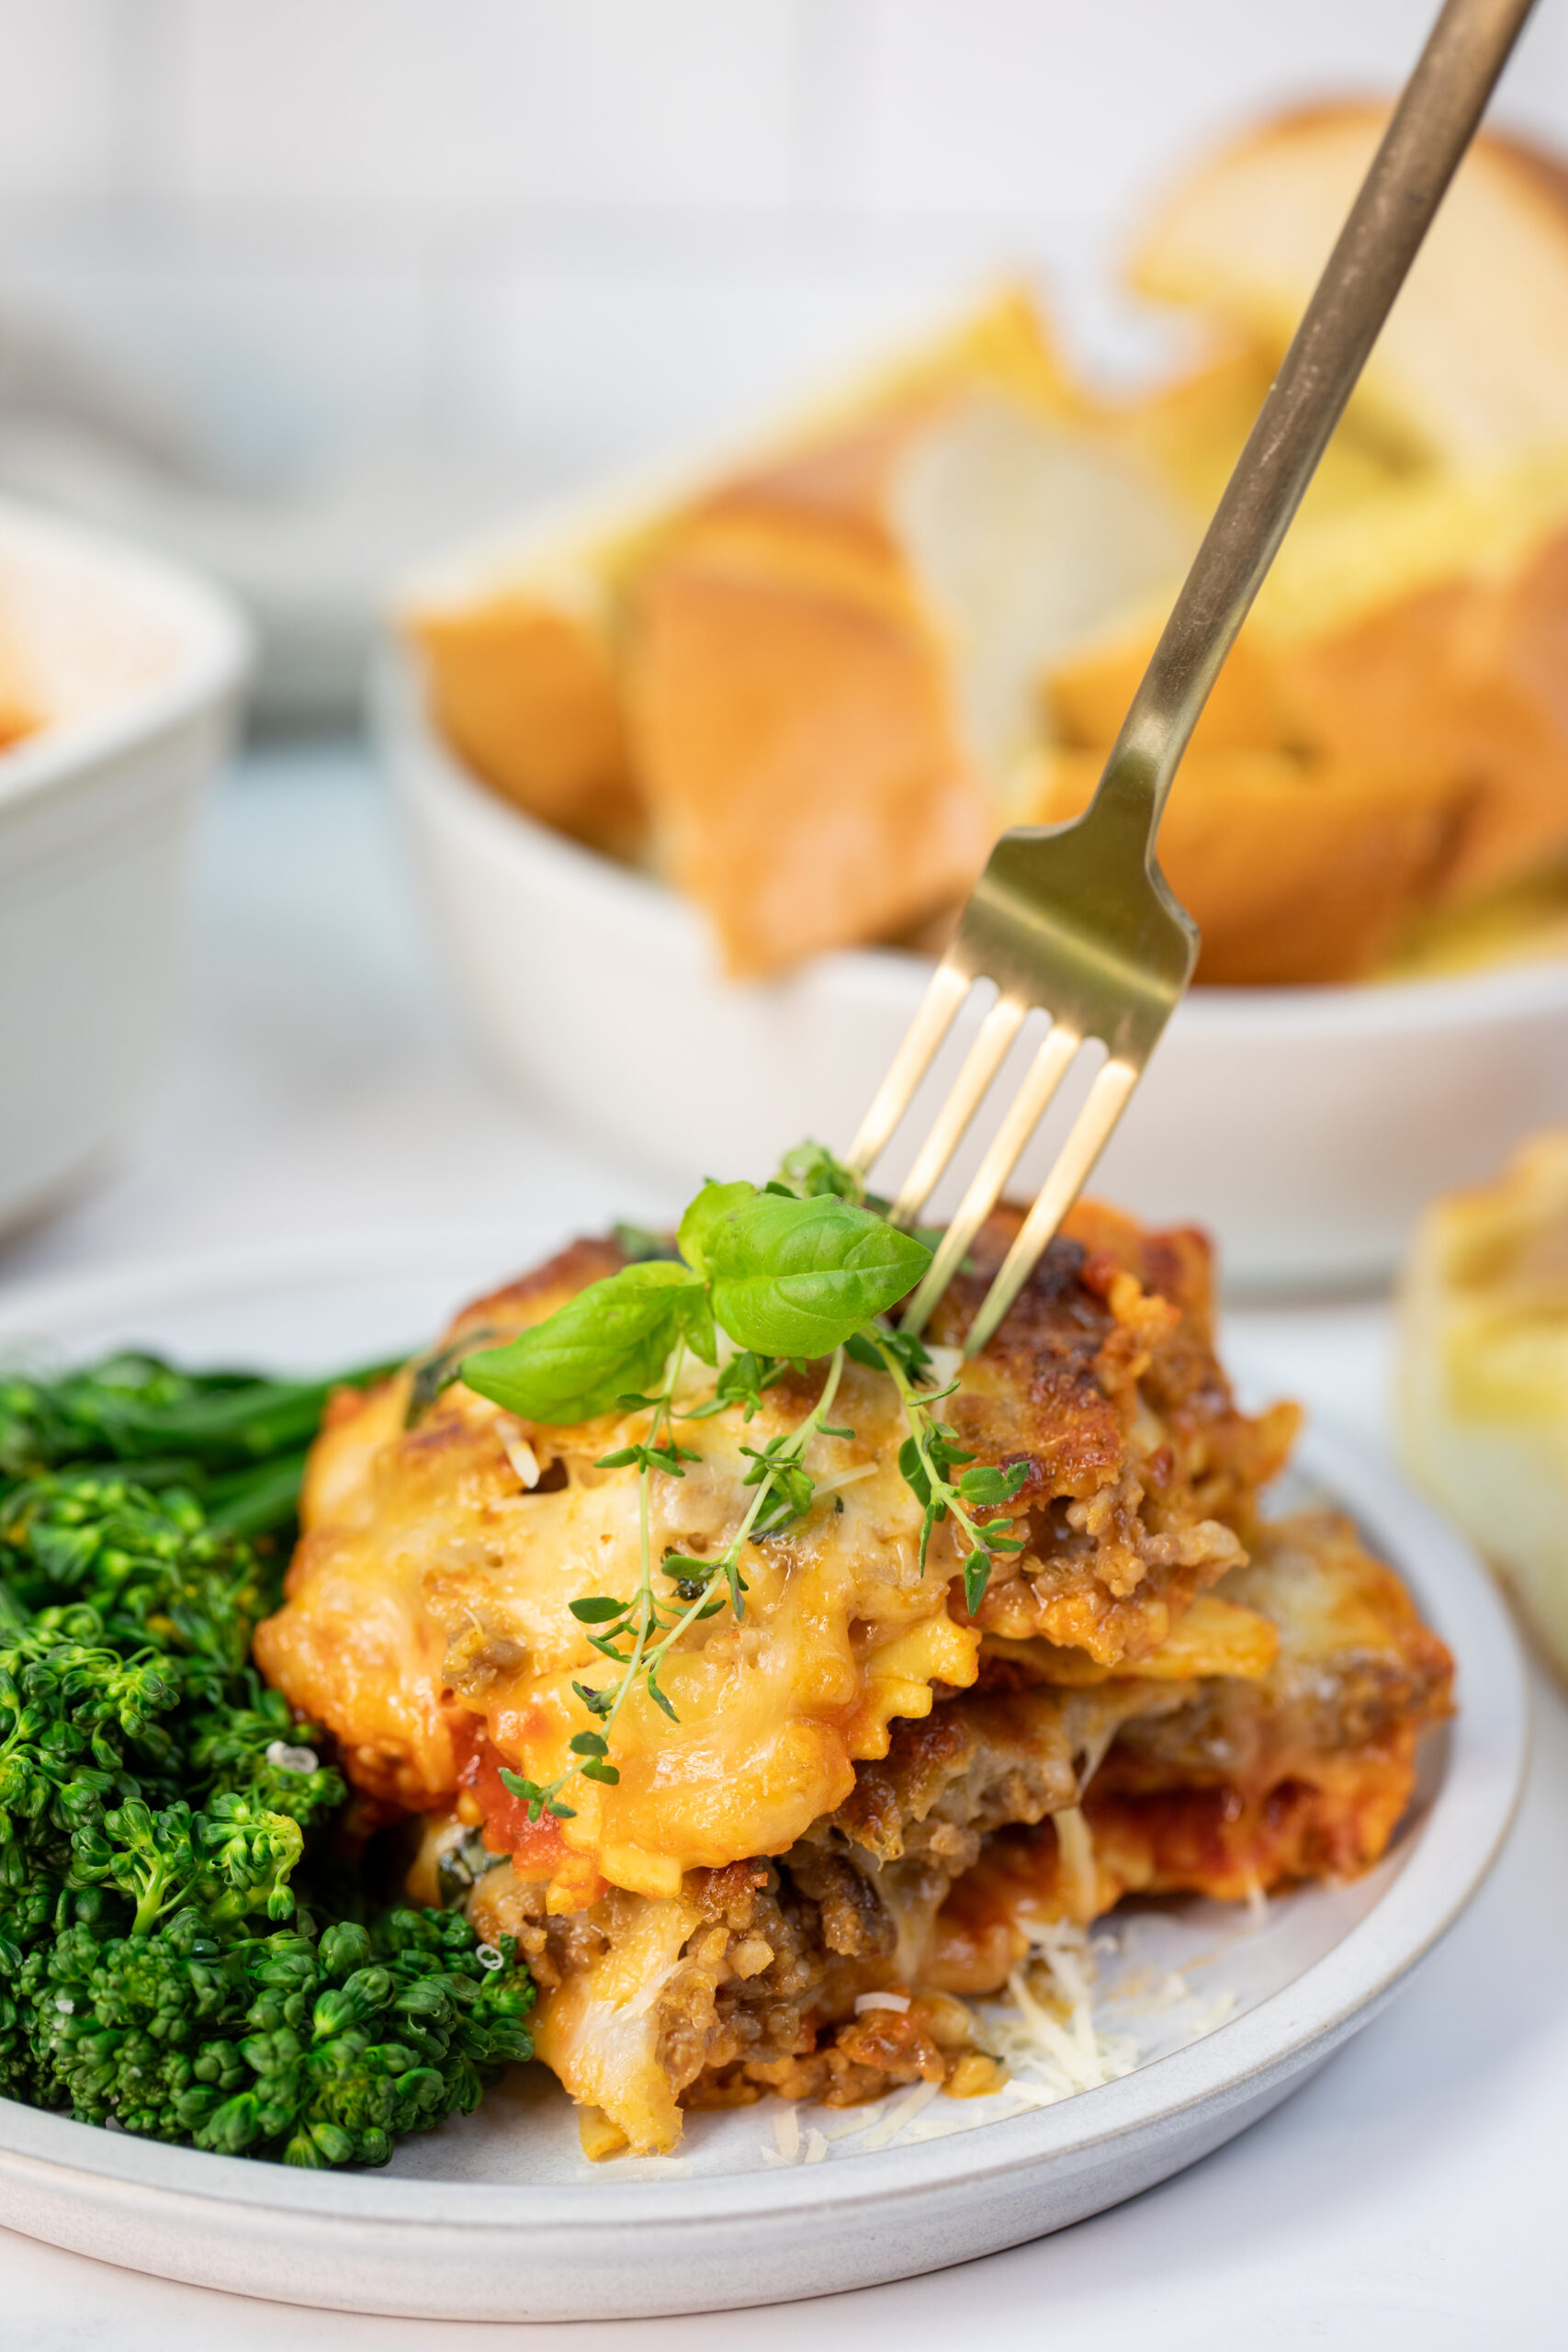
These 2-ingredient meals are delicious on their own, but here are some simple sides to round out your dinner:
One of the things I love about this method is the control it gives me over what goes into our meals. By choosing the sauces and marinades myself, I can:
Variations for Different Dietary Needs

The first time I pulled one of these meals from the freezer after a particularly chaotic day, the relief was indescribable. No shopping, minimal prep, just a home-cooked meal appearing almost magically on our dinner table.
I used to think meal prepping meant spending entire Sundays cooking elaborate meals, but this 2-ingredient hack has completely changed my approach. It’s proof that effective meal planning doesn’t have to be complicated or time-consuming.
Give it a try the next time you spot a good sale on your family’s favorite protein. I’d love to hear what sauce combinations you come up with and how this simple hack transforms your weeknight dinner routine!
Ready to try this for yourself? Grab some freezer bags, raid your condiment shelf, and watch as your future self thanks you for the gift of stress-free dinners!