Absolutely! Learn all about how to freeze corn in this article. Freezing fresh food when it is in season will help you save money, time, and prevent food waste. Frozen corn will help you ensure the best flavor all year round and are a great ingredient for many different types of recipes; from creamed corn, to corn on the cob to a flavorful side or even Mexican street corn.
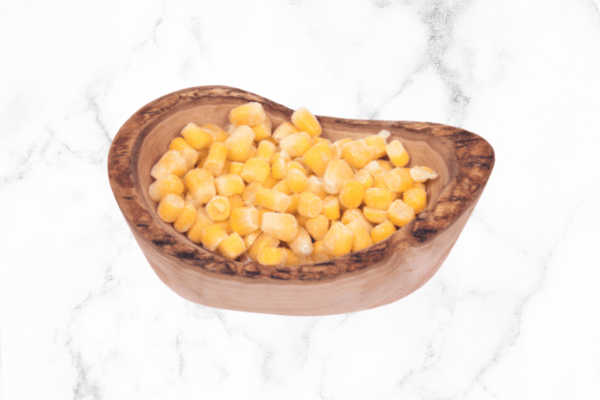
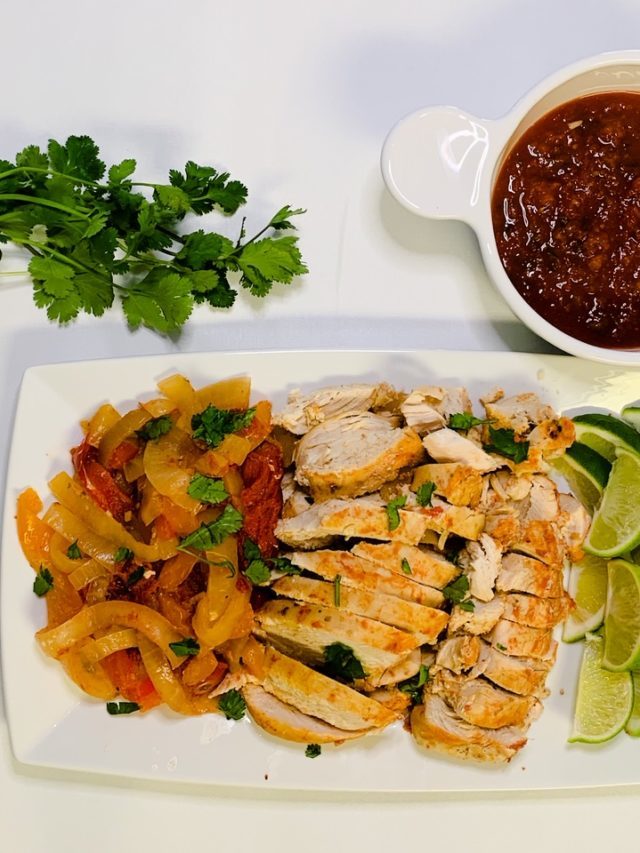
One of my favorite ways to use frozen corn is by using frozen corn off the cob in a Mexican street corn side salad.
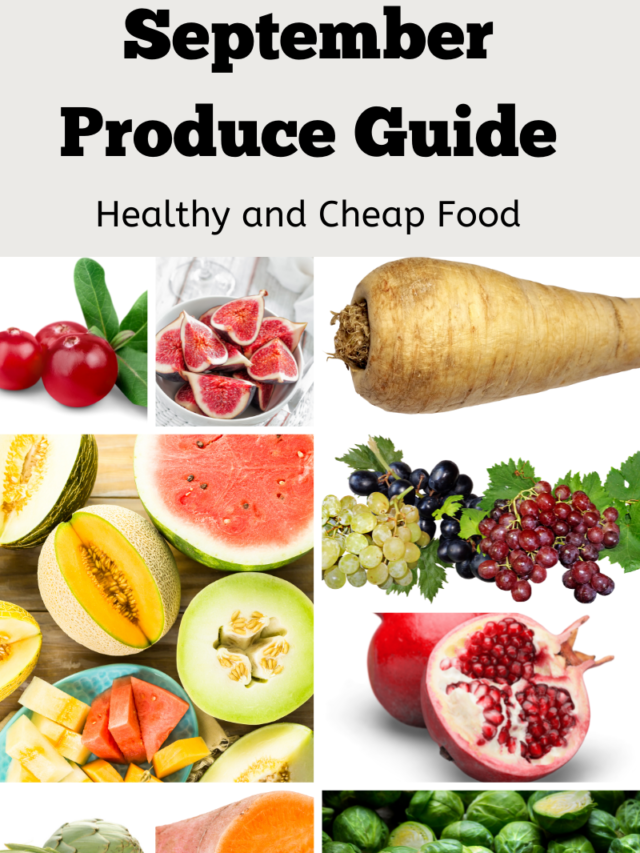
Frozen corn is a super common ingredient you can find in the frozen aisle at any grocery store. This makes it a great ingredient to freeze during the fresh season of corn when it is affordable at its peak in flavor.
Why you will love freezing corn at home.
Takes 5 Minutes
Reduces Food Waste
Saves Money
Easy Healthy Side
Always have Corn on Hand
Why Freeze corn?
There are three great methods to use to freeze fresh corn. Some of it depends on how you want to use the corn after it is frozen and how much time you have on hand to prep the corn you are freezing. However you plan to use your frozen corn, one of the 3 easiest methods below will work wonders for you.
What supplies do I need to freeze fresh corn?
Corn (on or off the cob) Plastic Wrap Large Pot (Optional) Large baking sheet with lip (Optional) Parchment Paper (Optional) Gallon/Quart sized freezer bags. (Ziplock are my favorite).
Can you freeze corn on the cob?
Yes. When freezing corn on the cob you will need to use a method known as blanching before freezing. Some people say this is optional but for corn out of the husks you will get the best result if blanching first.
Learn more about this method below.
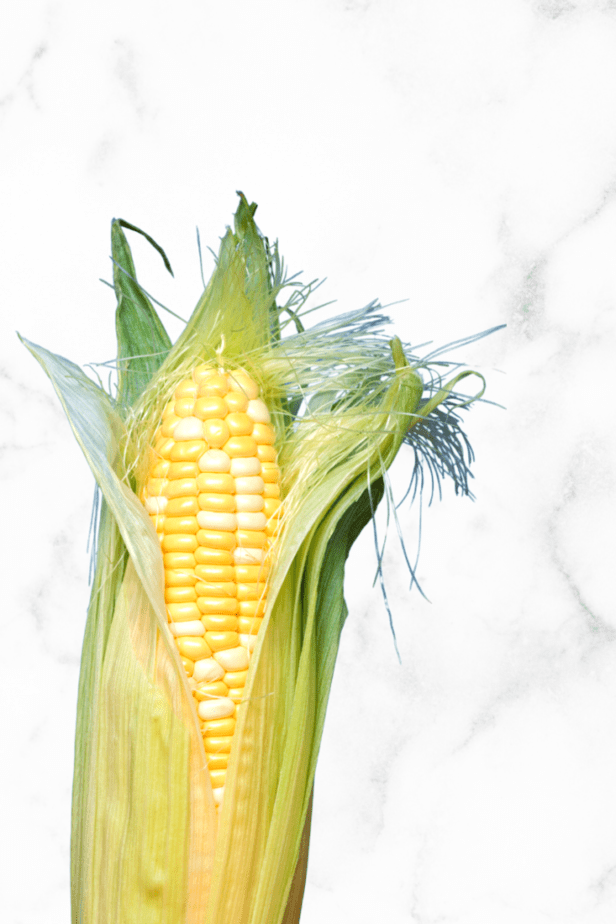
Can you freeze corn in husks?
Yes! Freezing in husks works well especially if it is super fresh. This is by far the fastest and easiest method to use if you are in a rush and want to be sure to save that sweet, fresh, golden corn you have so much of, for later use.
3 Best Methods for Freezing Corn on the Cob and Off the Cob ????
Method #1: How to Freeze Corn on the Cob
Freezing corn on the cob is one of the most common ways to freeze corn at home. It requires more work than method 3 but less work than method 2. I love using all three methods.
Step 1: Get a freezer bag ready for corn.
Be sure to label and add an expiration date. (Today’s date plus 6-9 months.)
You can use a permanent marker to label the bag or find a printable freezer label online.
Step 2: Bring a large pot of water to a boil.
While you wait for the water to boil be sure to clean and shuck your corn on the cob so it is ready once the water is boiling.
Step 3: Place corn on the cob into boiling water.
Place corn on the cob into boiling water and boil for 2-3 minutes. This is known as blanching and will help with flavor and texture when using corn out of the freezer.
Step 4: Place corn in ice bath to stop cooking.
We are going to be freezing the corn on the cob so we want to stop the cooking. Since your corn is on the cob it can retain a lot of heat and this could leave an undesirable texture as the corn both cools and freezes at the same time.
Step 5: Dry Corn and wrap in plastic wrap.
Give each corn on the cob an extra seal with plastic wrap. This makes them easy to pull out after being frozen.
Step 6: Place wrapped corn in labeled gallon freezer bags.
Be sure to seal bags of corn on the cob by removing as much air as possible. That’s it! You’re done. Good job!
Method #2: How to Freeze Corn off the Cob
Freezing cut corn off the cob is the most common way for freezing corn. I’m sure you have purchased frozen corn at the store at some point, this is the way it was likely frozen.
Though you can freeze corn cut off the cob raw, I prefer to cook it first, as when it comes out of the freezer it’s easier to use. And that is what we are all about, healthy easy cooking.
Step 1: Get a freezer bag ready for corn.
Be sure to label and add an expiration date. (Today’s date plus 6-9 months.)
You can use a permanent marker to label the bag or find a printable freezer label online.
Step 2: Peel corn if they still have husks on.
Shuck your corn and drop them into a large pot of boiling water for 2-3 minutes. This is known as blanching the corn. It is like cooking it majority of the way so the food is clean and ready to use or freeze. But we are not over cooking so it doesn’t get mushy.
Step 3: While corn cools get a baking sheet with parchment paper ready.
We will be flash freezing the corn once you cut it off the cob. This will keep us from having a large frozen chunk of corn and keep the kernels as individuals. Makes it soooo much easier to use when you need it.
Step 4: Remove and let cool. (Be careful, corn will be hot!)
Once corn is cool cut kernels off the cob and spread out onto the baking sheet.
Step 5: Place Baking Sheet with Corn into the Freezer for 2 hours.
Freezing the corn on a baking sheet for a short period of time is known as flash freezing. Flash freeze your corn for 2 hours. Do not go longer than that as corn may start to develop a freezer burn.
After two hours remove corn from the baking sheet and break apart.
Step 6: Place corn in a freezer bag.
Break up the corn, it may not be 100% frozen but that is alright. We wanted to get an initial freeze on the kernels to keep them individual and from developing into one mushy blob.
Now place your corn into a freezer bag and you are finished.
Method #3: How to Freeze Corn on the Cob in the Husk
The best part about this method is it’s a huge time saver. When you are done preparing items, cooking, or just in a general rush, this is my go-to way for freezing corn.
Plus the husks add as a natural seal preventing freezer burn and keeping it fresh longer.
Step 1: Get a freezer bag ready for corn.
Label and add an expiration date onto the gallon bags for freezing your corn on the cob in husks. This will ensure your corn stays fresh as long as possible in your freezer. Corn on the cob in husks should stay good for 6-9 months. (If you see freezer burn I would use quickly or get rid of the corn as it is near expiring).
Step 2: Optional: Wrap your corn with husks on in plastic wrap.
I like to do this for an extra seal to keep in as much freshness as possible.
Step 3: Add corn to freezer bags.
Now add your whole corn into the labeled freezer bags and you’re good to go. Be sure to remove as much air as possible before sealing the bag. Then, toss in the freezer and enjoy your day.
*See FAQ’s and specific tips following recipe card below.
*Frozen corn will last for 6-9 months in the freezer, if frozen properly. Be sure to use freezer bags when storing or any other air tight container.
Get a freezer bag ready for corn. Be sure to label and add an expiration date. (Today’s date plus 6-9 months.)You can use a permanent marker to label the bag or find a printable freezer label online.
Bring a large pot of water to a boil.While you wait for the water to boil be sure to clean and shuck your corn on the cob so it is ready once the water is boiling.
Place corn on the cob into boiling water.Place corn on the cob into boiling water and boil for 2-3 minutes. This is known as blanching and will help with flavor and texture when using corn out of the freezer.
Place corn in ice bath to stop cooking. We are going to be freezing the corn on the cob so we want to stop the cooking. Since your corn is on the cob it can retain a lot of heat and this could leave an undesirable texture as the corn both cools and freezes at the same time.
Dry Corn and wrap in plastic wrap. Give each corn on the cob an extra seal with plastic wrap. Makes them easy to pull out after being frozen.
Place wrapped corn in labeled gallon freezer bags.Be sure to seal bags of corn on the cob by removing as much air as possible. That’s it your’e done. Good job!
Method #2: How to Freeze Corn off the Cob
Get a freezer bag ready for corn. Be sure to label and add an expiration date. (Today’s date plus 6-9 months.)You can use a permanent marker to label the bag or find a printable freezer label online.
Peel corn if they still have husks on. Shuck your corn and drop them into a large pot of boiling water for 2-3 minutes. This is known as blanching the corn. It is like cooking it majority of the way so the food is clean and ready to use or freeze. But we are not over cooking so it doesn’t get mushy.
While corn cools get a baking sheet with parchment paper ready.We will be flash freezing the corn once you cut it off the cob. This will keep us from having a large frozen chunk of corn and keep the kernels individual. Makes it soooo much easier to use when you need it.
Remove and let cool. (Be careful, corn will be hot!)Once corn is cool cut kernels off the cob and spread out onto baking sheet.
Flash freeze for 2 hours.Let corn flash freeze for 2 hours. Do not go longer than that as corn may start to develop freezer burn.
Break up corn and place in a freezer bag. Break up the corn, it may not be 100% frozen but that is alright. We wanted to get an initial freeze on the kernels to keep them individual and from developing into one mushy blob.
Method #3: How to Freeze Corn on the Cob in the Husk
Get a freezer bag ready for corn.Label and add an expiration date onto the gallon bags for freezing your corn on the cob in husks. This will ensure your corn stays fresh as long as possible in your freezer. Corn on the cob in husks should stay good for 6-9 months. (If you see freezer burn I would use quickly or get rid of the corn as it is near expiring).
Optional: Wrap your corn with husks on in plastic wrap.I like to do this for an extra seal to keep in as much freshness as possible.
Add corn to freezer bags.Now add your whole corn into the labeled freezer bags and your’e good to go. Be sure to remove as much air as possible before sealing the bag. The toss in the freezer and enjoy your day.
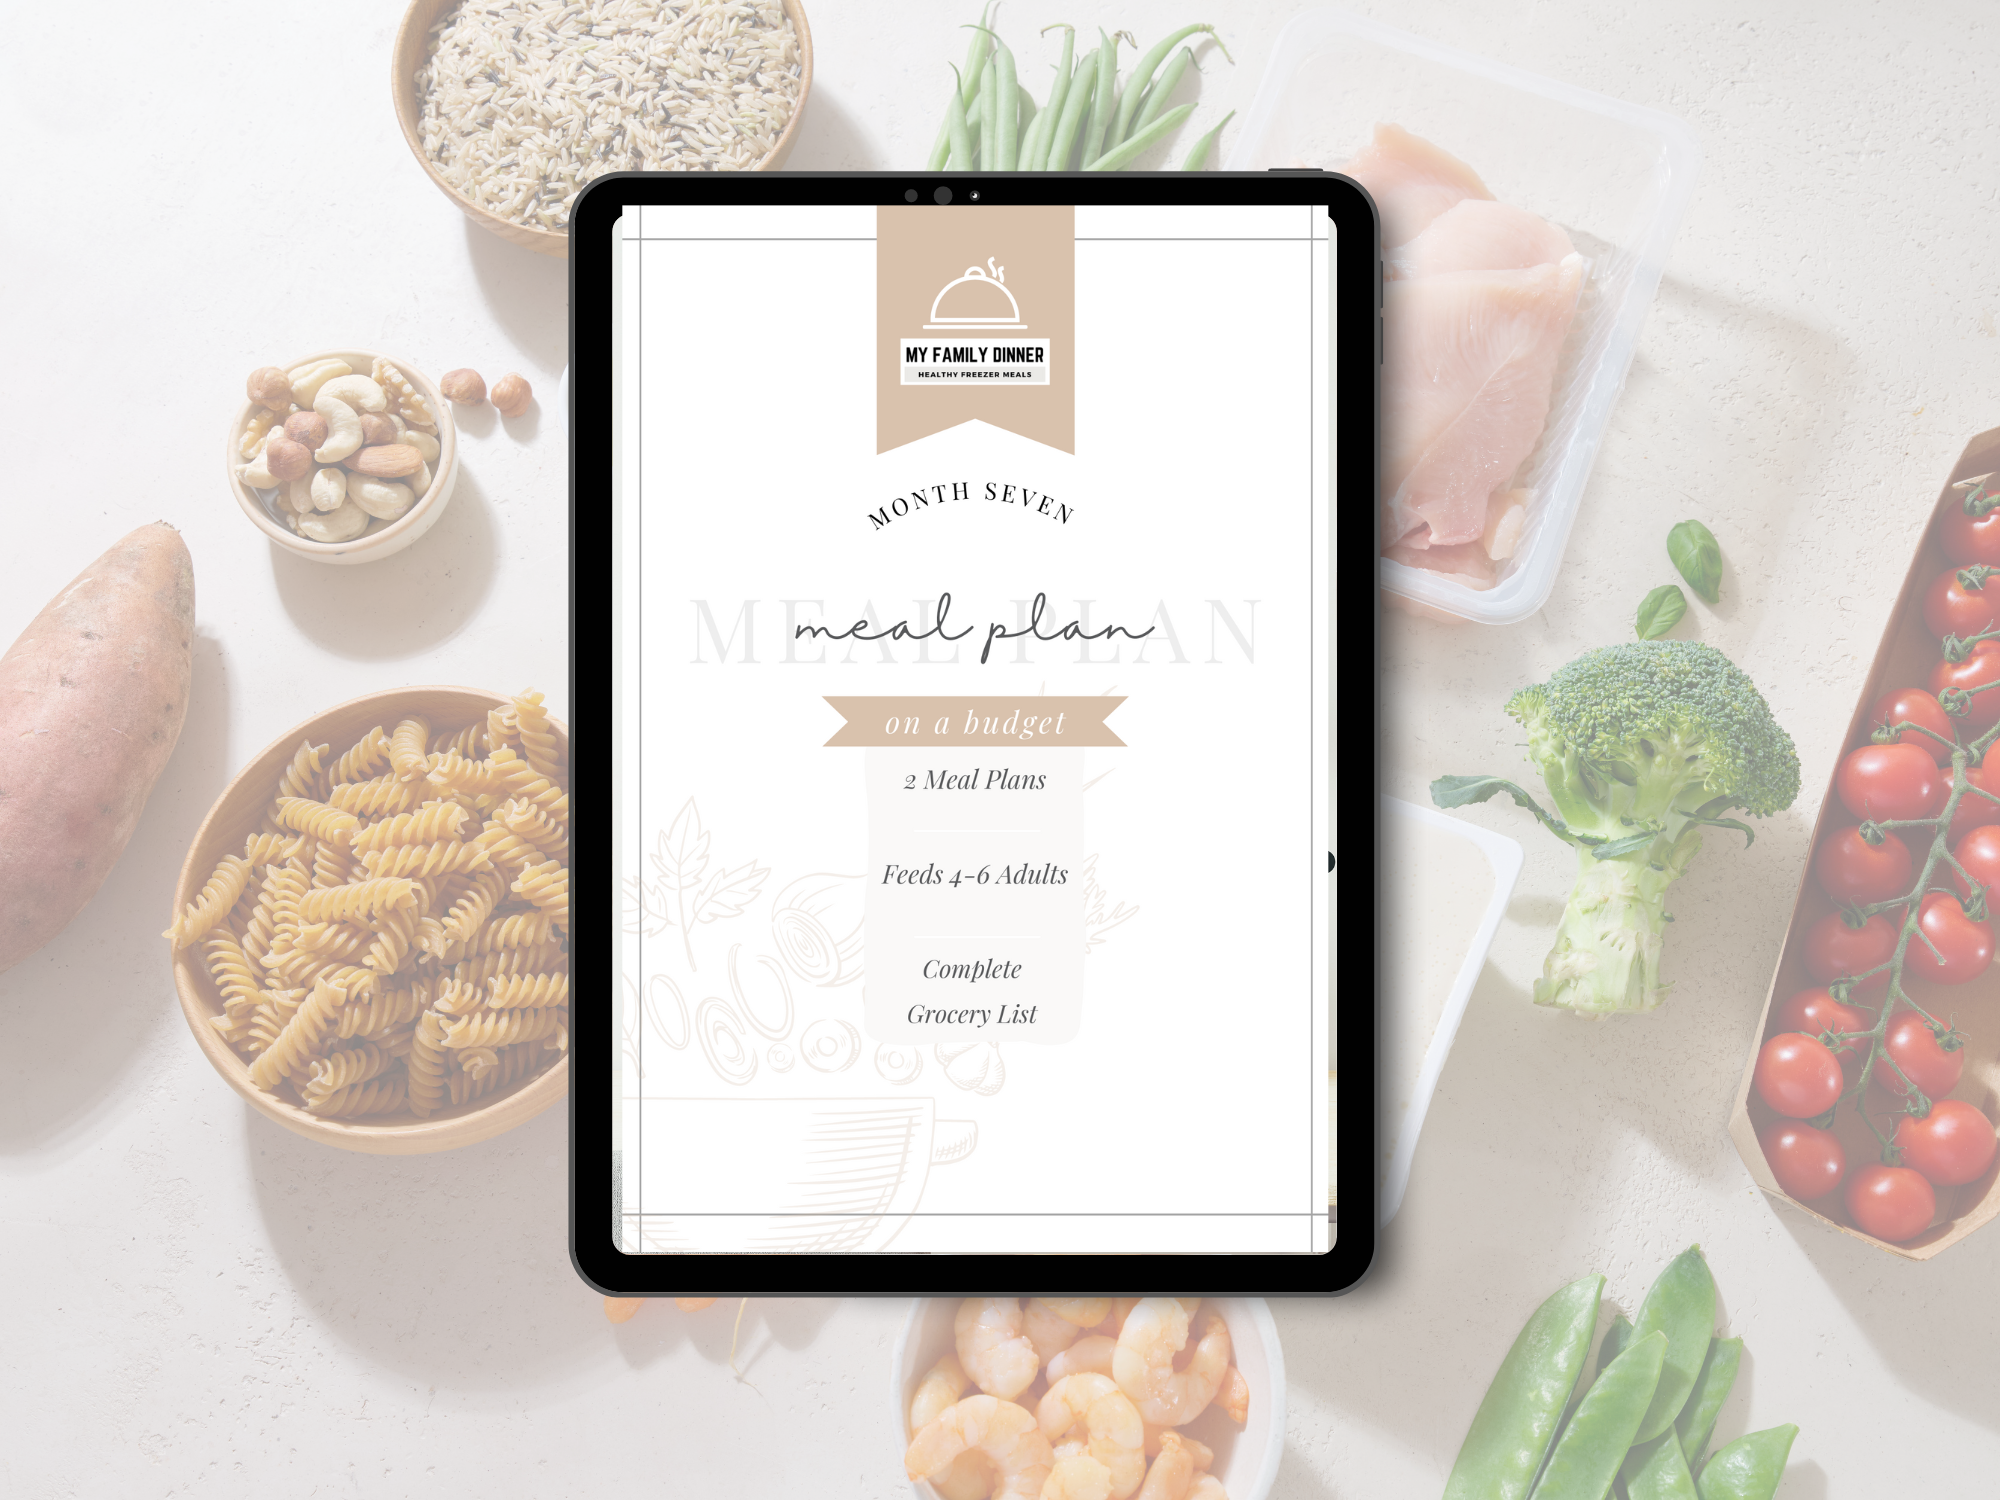
FREE Printable Meal Planner
You will love this super simple printable meal planner.
Thank you!
You have successfully joined our subscriber list.
Freezing (food) FAQ’s
How long does it take for corn to freeze?
It depends on which method you use to freeze your corn. On average, corn off the cob will be frozen in 2-4 hours. The only method where waiting on a time to freeze will come into play is if you are freezing corn off the cob. Then you will have to freeze for about 2 hours, break apart and place into a freezer gallon/quart ziplock bag for later use.
7 Best ways to use blanched cut corn:
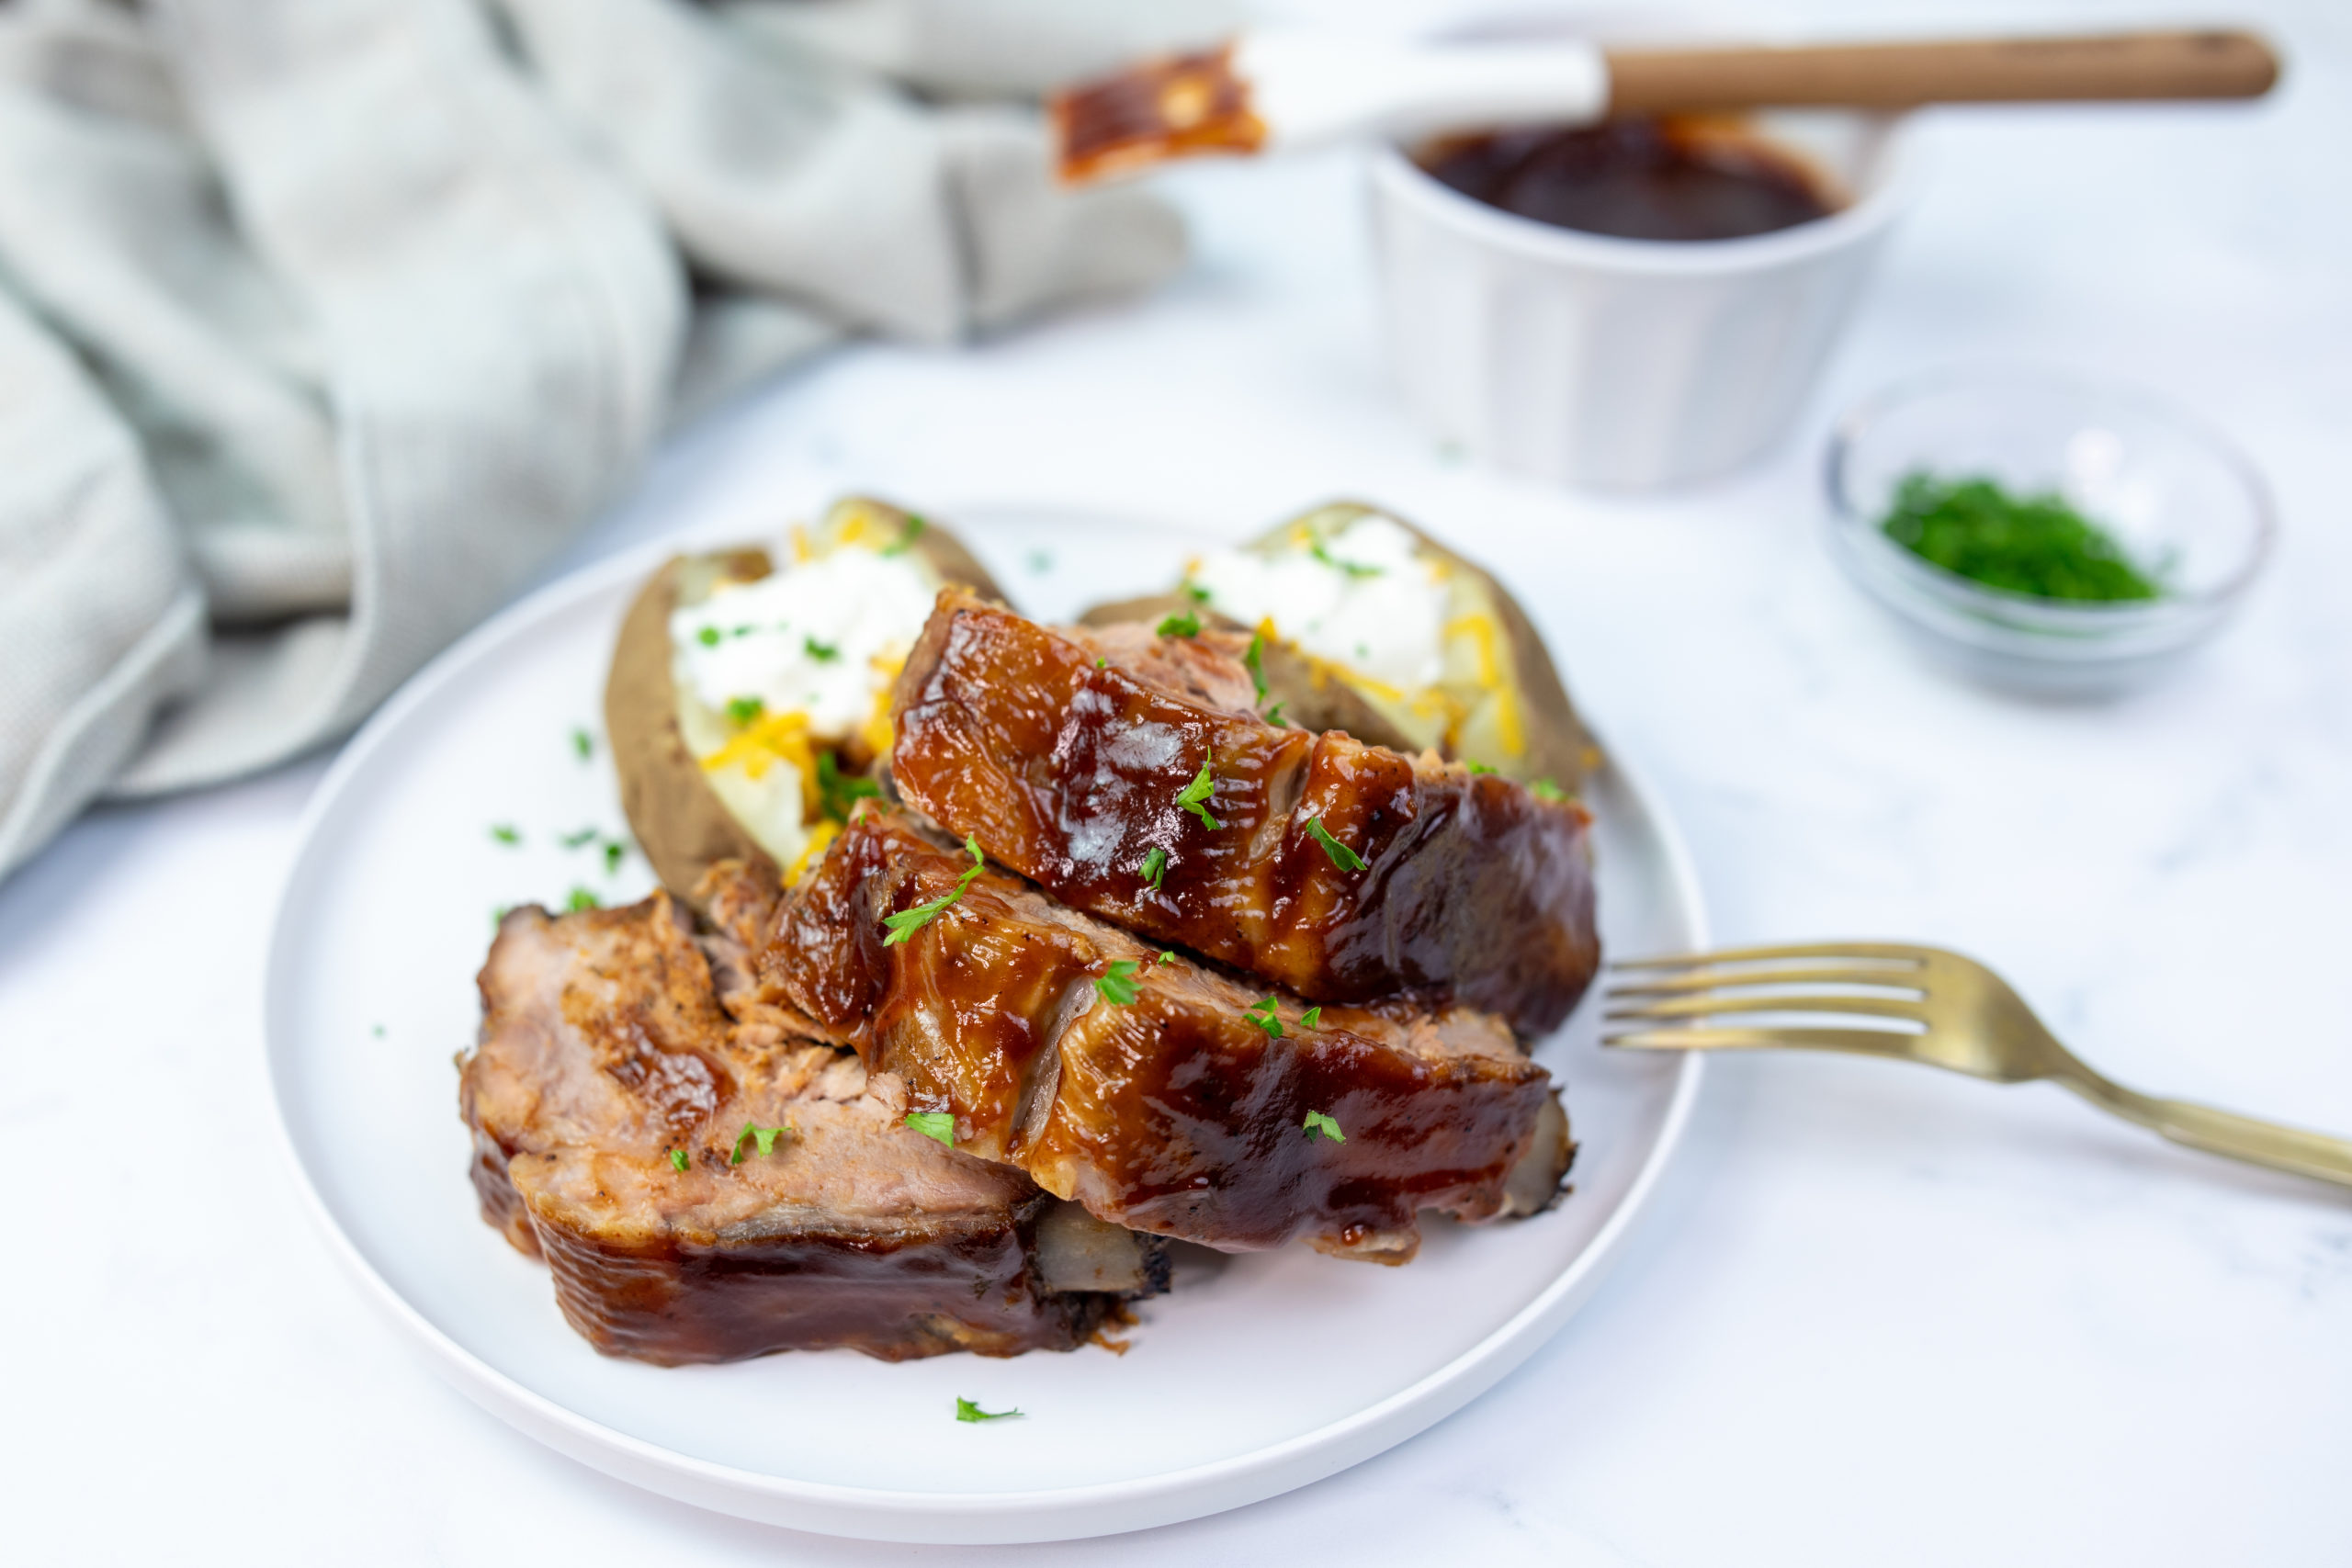
Here are some of the best ways to use frozen corn on or off the cob: Seasoned Side Black Bean and Corn Salsa Creamed Corn Soups Roasted in Oven Mexican Street Corn Salad
How to store corn off the cob?
You can store corn off the cob in the refrigerator of in the freezer. Storing frozen cut corn off the cob: Follow method 2 above for storing frozen corn off the cob. Storing fresh cut corn off the cob (unfrozen): If you are storing corn off the cob in the fridge after cooking be sure to set into an air tight container for 3-5 days.
Pros: Frozen corn on the cob
Frozen corn on the cob can be used well into a year after it is no longer in season. This saves so much money and also lets you enjoy the best ingredient possible year round.
Con: Frozen corn on the cob
Through blanching and plastic wrap we reduce the mushy vibe of corn on the cob, however there still may be a slightly different texture then crisp fresh corn. Nothing really can beat it at its freshest moment.
How to thaw frozen corn?
I recommend cooking the frozen corn right out of the freezer. Do not let it sit out and thaw too much because that brings on the mushy vibe more. Roast, grill, or throw into a soup and enjoy your ready to go corn right out of the freezer.
Don’t forget to pin this recipe and save for later! ????
As a full time working mom of four, I know how hard it is to find time (or energy) to cook. That’s why I’ve spent over a decade perfecting freezer meal recipes to make sure they’re not only quick to prepare but packed with flavors the whole family will love!